How to Prepare a Flower Bed for Planting in 5 Steps
If you’ve ever struggled to get your flower bed looking vibrant and healthy, you’re not alone. Many people find preparing the soil and arranging plants just right to be a real challenge. Getting it right, though, can make all the difference in creating a beautiful garden you’ll love. How to Prepare a Flower Bed for Planting.
Start by clearing the flower bed of dead stems, debris, and weeds, pulling them from the base and raking the surface smooth.
Next, test the soil to check pH and nutrients, then loosen the top 8 to 12 inches and work in 2 to 3 inches of compost.
Arrange flowers by height and spacing, then water deeply and add mulch to lock in moisture and cut weeds.
There’s more you can do to help your bed thrive.
Key Takeaways
- Clear the bed of dead plants, debris, and weeds. Make sure to remove roots and smooth the soil surface.
- Test the soil to check pH and nutrient levels. Then choose plants that are suited to the results.
- Loosen the top 8 to 12 inches of soil and mix in 2 to 3 inches of compost.
- Plan flower placement by height, color, spacing, and grouping. This helps create a balanced layout.
- Water deeply after planting. Then add 2 to 3 inches of mulch to hold moisture and suppress weeds.
Clear the Flower Bed and Remove Weeds

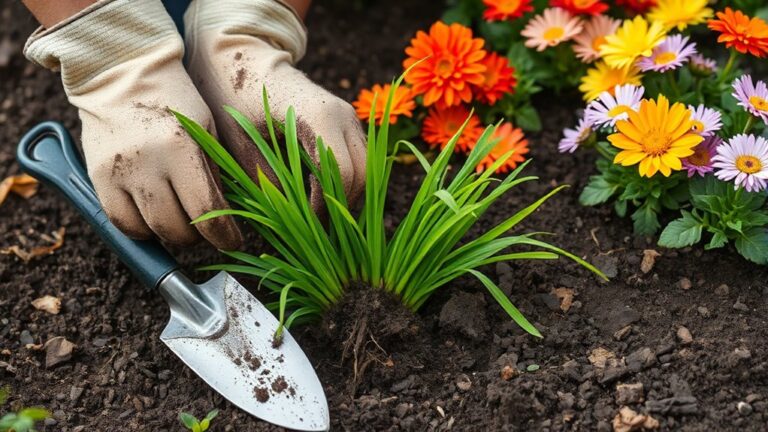
Start by clearing the flower bed so you can see exactly what you’re working with. Pull out dead stems, old annuals, and any debris that’s hiding in the soil.
Then walk the bed carefully and practice weed identification, since young weeds can mimic desirable seedlings. Grasp each weed low at the base and tug steadily so you remove the roots, not just the top growth.
Walk the bed carefully, identify young weeds, and pull from the base to remove roots, not just tops.
For stubborn weeds, use a hand tool to loosen the soil around them first. Toss all pulled weeds into the trash or yard waste, not the compost, if they’ve gone to seed.
Rake the surface smooth so you can spot missed patches. As you clean, notice where the bed gets the most sun and shade, because that helps you choose mulch types later.
A clean bed gives your flowers room to grow and reduces competition for water, nutrients, and light.
Test the Soil Before Planting
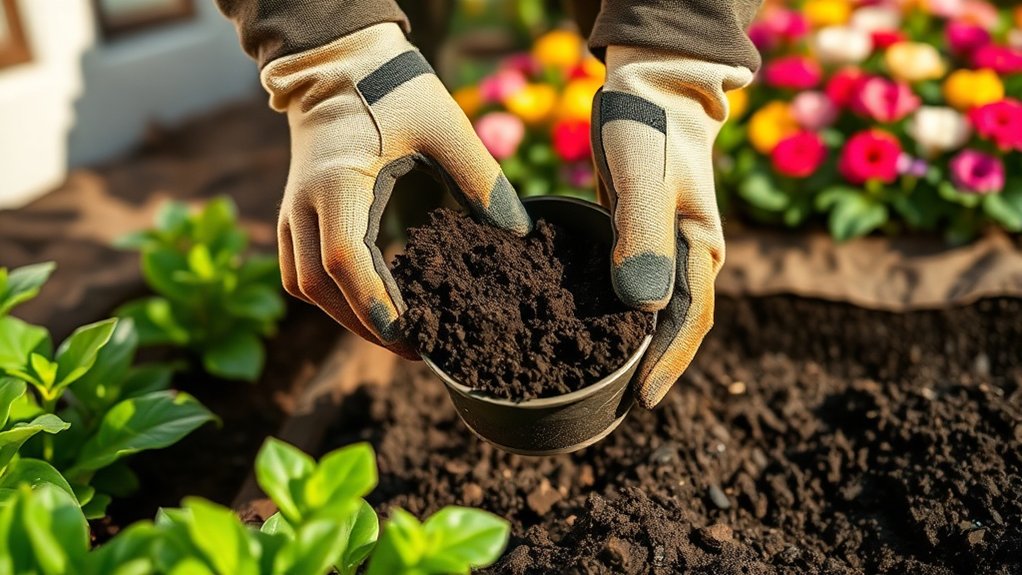
Before you add anything to the bed, test the soil so you know what it needs. Use a home test kit or send a sample to your local extension office for a fuller reading. Check the soil pH first, since it affects how well flowers take up nutrients. Most ornamentals prefer slightly acidic to neutral soil, but your plants may need a different range.
You should also review nutrient levels, especially nitrogen, phosphorus, and potassium. The results tell you whether the bed is lacking key elements or already has enough. Don’t guess based on plant color alone, because poor growth can come from many causes.
Take samples from several spots in the bed and mix them for a more accurate result. Follow the kit instructions closely, and record the numbers so you can match them to your plant choices. Once you know the soil’s condition, you can make smarter decisions and give your flowers a better start.
Loosen the Soil and Add Compost
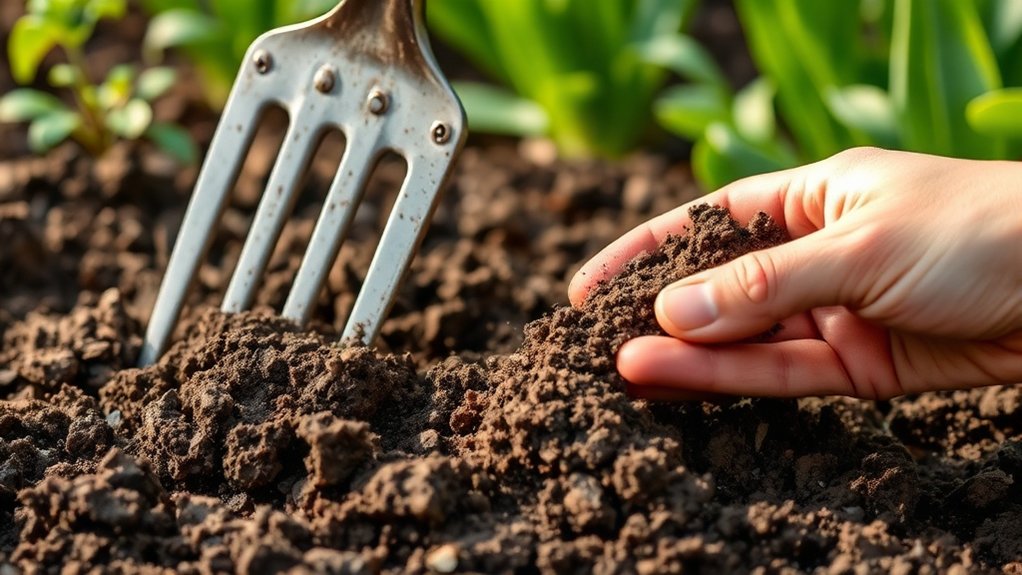
Now loosen the top 8 to 12 inches of soil so roots can grow freely and water can move through the bed. Use a garden fork, shovel, or broadfork to break up compacted spots, and work slowly so you don’t smear wet clumps. Good soil aeration techniques help air reach roots and keep drainage steady.
Then spread 2 to 3 inches of finished compost over the bed and mix it into the loosened soil. The compost benefits are clear: it improves texture, feeds helpful microbes, and helps soil hold moisture without staying soggy.
| Task | Why it helps |
|---|---|
| Fork the soil | Opens tight layers |
| Remove debris | Clears root paths |
| Break clods | Improves drainage |
| Add compost | Boosts fertility |
| Mix evenly | Creates a better planting bed |
After blending, rake the surface smooth so the bed feels loose, rich, and ready.
Plan Flower Placement and Spacing
With the soil ready, plan where each flower will go so the bed looks balanced and every plant has room to grow. Start by placing taller flowers toward the back or center, then arrange medium and low growers around them.
Use your flower selection to mix colors, heights, and textures, and group seasonal blooms so the bed changes beautifully over time. Good planting techniques help you leave enough space for mature roots and foliage, which prevents crowding later.
- Check each plant’s spacing needs on the tag.
- Stagger plants in clusters for a natural look.
- Try companion planting to pair flowers that support each other.
Step back often and view the bed from different angles before you dig. When you map the layout first, you’ll make smarter choices and create a fuller, healthier display.
Water and Mulch the Bed
Give the bed a deep, even watering right after planting so the soil settles around the roots and each flower gets a strong start. Water slowly at the base of each plant, not over the leaves, so moisture reaches the root zone instead of running off.
Check the soil a few inches down; if it feels dry, water again. Aim for steady moisture during the first few weeks, since new plants can’t handle drought yet.
Check the soil a few inches down, and keep new plants evenly moist during their first few weeks.
After watering, spread a 2- to 3-inch layer of mulch around the flowers, keeping it a few inches from the stems. Mulch improves water retention, helps block weeds, and keeps soil temperatures more stable.
It also cuts down on splashback that can spread disease. Replenish mulch as it breaks down, and watch the bed after rain so you don’t overwater. With the right balance of water and mulch, your flowers will settle in and thrive.
Frequently Asked Questions
When Is the Best Time to Prepare a Flower Bed?
You should prepare a flower bed in early spring, before planting starts and after the ground dries out enough to work easily. That timing lets you loosen soil, remove weeds, and mix in compost before spring planting.
If you can, do soil testing first so you know what nutrients your bed needs. You’ll give your flowers the best start when you prep the bed a few weeks ahead of planting.
How Often Should Flower Beds Be Fertilized?
You should fertilize flower beds about once a month during the growing season, unless your plants need less. You’ll get the best results by matching fertilizer types to your soil and choosing gentle application methods.
Slow-release granules work well for steady feeding, while liquid feeds help quickly. Always follow label directions, water afterward, and avoid overfertilizing, which can burn roots and reduce blooms over time.
Which Flowers Attract Butterflies and Bees?
You’ll attract butterflies and bees with native plants like coneflowers, milkweed, black-eyed Susans, bee balm, and aster. You should also plant zinnias, lavender, salvia, and cosmos for plenty of nectar.
Mix in pollinator gardens with seasonal blooms and bright color combinations to draw more visitors. If you stagger bloom times, you’ll keep food available longer, and your bed’ll stay lively with buzzing, fluttering activity all season long.
How Do I Protect Flowers From Pests and Animals?
You can protect flowers from pests and animals by using natural repellents, companion planting, and physical barriers. Sprinkle crushed eggshells or diatomaceous earth around plants to deter crawlers.
Plant marigolds, lavender, or herbs nearby to confuse pests and mask scent. Add fencing, netting, or row covers to keep deer, rabbits, and birds out.
Check leaves often, remove վնասed growth, and water early so your flowers stay healthy and strong.
Can I Prepare a Flower Bed on a Slope?
Yes, you can prepare a flower bed on a slope, but you’ll need to think about slope considerations and soil stability first. You should slow runoff with terracing, edging, or small retaining walls.
Add compost and mulch to help the soil hold moisture and resist erosion. Plant deep-rooted flowers, and water gently so you don’t wash everything away.
With the right setup, your sloped bed can look great and thrive.
Conclusion
Now you’re ready to plant your flowers and watch your bed come to life. You’ve cleared out weeds, tested the soil, loosened the ground, added compost, and planned each bloom with care. Don’t those first steps make all the difference?
With a little water and a layer of mulch, you’ve set the stage for healthy roots and bright color. Keep tending your bed, and you’ll enjoy a thriving, beautiful garden all season long. Preparing a flower bed properly really sets you up for success and vibrant blooms.