How to Create a Pollinator Garden in 7 Steps
If you’ve ever wanted to create a beautiful pollinator garden but felt overwhelmed by where to start, you’re not alone. Many people struggle to find the right spot, pick the best plants, and maintain a garden that truly supports bees, butterflies, and other pollinators.
Luckily, with a few simple steps, you can build a thriving garden that brings nature right to your doorstep. How to Create a Pollinator Garden.
Choose a sunny, well-drained spot with some wind protection and easy access for upkeep. Then pick native pollinator-friendly plants that bloom from spring through fall, mixing early, mid, and late flowers for steady food.
Prepare the soil, group plants in clusters, and place taller ones behind shorter ones.
Add shallow water, shelter, and nesting areas, then weed, water, and deadhead through the seasons.
You’ll also want to avoid a few common mistakes that can limit success.
Key Takeaways
- Choose a sunny, well-drained location with some wind protection. Make sure it’s easy to access for maintenance.
- Plant native, pollinator-friendly flowers that bloom from spring through fall. This ensures continuous nectar and pollen.
- Group similar plants together. Arrange taller varieties in the back and shorter ones in front so pollinators can forage easily.
- Add shallow water, nesting spots, and brush piles. These provide shelter and support the pollinator habitat.
- Maintain the garden by weeding and deadheading regularly. Avoid broad pesticides, and leave some garden structure through winter.
Choose the Best Spot for Your Pollinator Garden
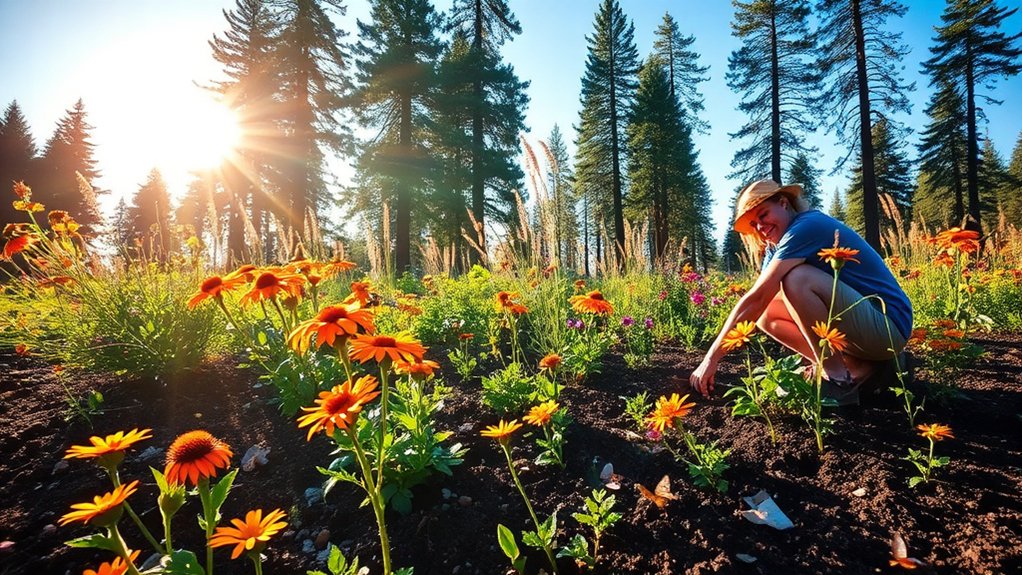
Start by choosing a spot that gets plenty of sunlight, since most pollinator-friendly flowers bloom best with at least six hours of direct sun each day. Watch how the light moves across your yard so you can judge true sunlight exposure before you plant.
You’ll also want a place with some wind protection, because strong gusts can dry soil and make nectar less accessible to bees and butterflies. A location near a fence, hedge, or building often works well if it still gets enough sun.
Check that the area drains well after rain, since standing water can stress roots. You should also pick a spot you can reach easily for watering, weeding, and observing visiting pollinators.
Check that the area drains well after rain, so roots stay healthy and pollinators can thrive.
If possible, keep the garden close to existing habitat, like shrubs or trees, so insects can move safely between food sources and shelter. Choosing the right site gives your pollinator garden the best chance to thrive.
Pick Pollinator-Friendly Plants That Bloom All Season

Choose plants that bloom from spring through fall—this way, pollinators have food all season long. It’s a good idea to mix in native flowers, too, since they’re often the best match for local bees, butterflies, and hummingbirds. When you have a steady bloom schedule, your garden stays lively and your pollinators stay well fed.
Spring-to-Fall Blooming
To keep your pollinator garden buzzing from the first warm days of spring until the last cool weeks of fall, plant a mix of flowers that bloom at different times through the season. Choose early bloomers, midsummer stars, and late-season holdouts so bees, butterflies, and hummingbirds always find nectar.
As you plan, map out seasonal changes and overlap bloom cycles to prevent gaps in food. You can pair spring tulips with summer coneflowers and fall asters, then add salvias or bee balm for extra color and activity.
Deadhead spent flowers to encourage more blooms, and check your beds often so something’s always opening. With staggered flowering, you’ll support pollinators longer and keep your garden lively from one season to the next.
Native Plant Choices
Native plants form the backbone of a strong pollinator garden because they’re already adapted to your local climate, soil, and wildlife. When you choose native flower varieties, you give bees, butterflies, and hummingbirds the nectar and pollen they need without extra fuss.
Mix early, mid, and late bloomers so your garden feeds pollinators all season long. Look for coneflowers, milkweed, asters, bee balm, and goldenrod, then group them in sunny patches where they can thrive.
You’ll also support local insect species that depend on these plants for food and shelter. Skip heavily bred ornamentals that offer little reward, and focus on species that bloom reliably, resist stress, and fit your region.
Prepare Healthy Soil for Pollinator Garden Growth
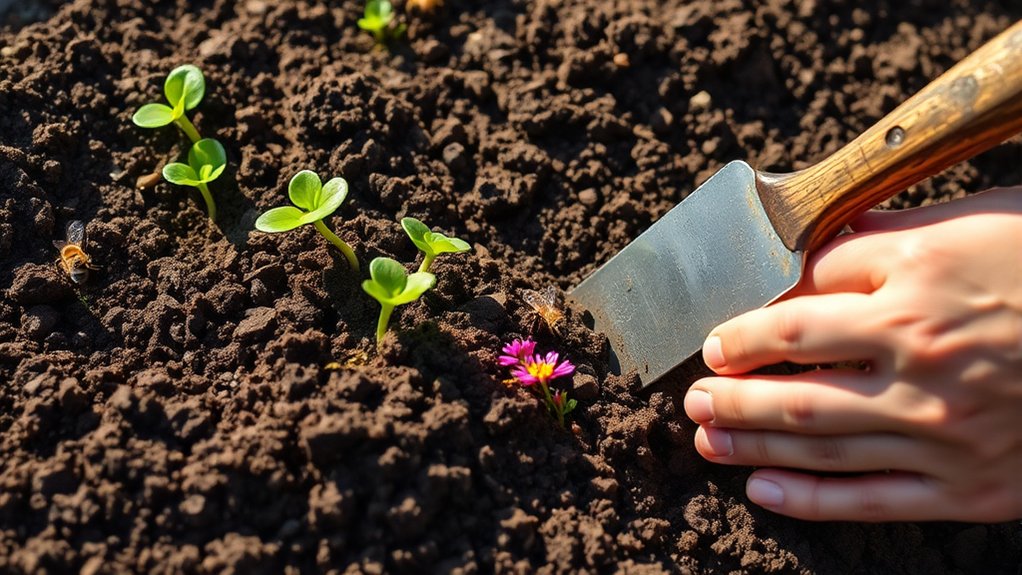
Healthy soil gives your pollinator garden the strong start it needs, so focus on improving texture, drainage, and fertility before you plant. Start with soil testing to learn your pH balance and nutrient levels, then choose soil amendments that match what your bed needs.
Mix in organic matter such as leaf mold or well-aged compost to loosen compacted ground and support drainage improvement. A careful compost application also feeds microbes and builds long-term fertility without overloading the soil.
As you work, protect earthworm habitats by avoiding heavy tilling. Worms help aerate soil and recycle nutrients naturally. If your site stays wet, raise low spots with additional organic matter and improve runoff paths before planting.
If it’s too sandy, add compost again to help it hold moisture and minerals. With balanced, living soil, you’ll give pollinators a healthier place to thrive from the start.
Arrange Plants for Easy Nectar Access
Now that your soil is ready, arrange plants so pollinators can reach nectar and pollen with ease. Group similar flowers together so bees and butterflies don’t waste energy moving from plant to plant.
Place tall plants toward the back or center, medium plant heights in the middle, and low growers along edges or paths. This layered layout improves nectar accessibility and helps visitors spot blooms quickly.
Mix flower shapes and bloom times, but keep each cluster close enough for easy foraging. Leave clear landing areas by avoiding overcrowding, and trim back anything that blocks blossoms.
Choose open, shallow flowers near the front where small pollinators can feed without struggle. You’ll create a garden that feels organized, looks balanced, and supports steady feeding all season.
When you plan with access in mind, you make every flower count and help more pollinators thrive.
Add Water, Shelter, and Nesting Spots
You can make your pollinator garden even more inviting by offering shallow water for bees, butterflies, and other visitors. It’s a simple way to keep them coming back.
Try adding small shelters, like brush piles, stones, or dense plants. These give pollinators a cozy spot to rest and hide when they need a break.
Don’t forget to include nesting spots too. Bare soil, hollow stems, or bee houses work great to help them settle in and thrive. These little touches make a big difference!
Provide Shallow Water
Even a small water source can make a big difference in a pollinator garden. You can help bees, butterflies, and hummingbirds by offering a shallow dish with clean water and a few pebbles for safe landing. Keep it near your flowers, and refill it often so it stays fresh.
| Option | Benefit |
|---|---|
| Shallow dish | Easy access |
| Pebbles | Safe footing |
| Birdbath | Extra space |
| Drip tray | Gentle moisture |
These simple water features add wildlife benefits without taking much room. Place them where you can watch pollinators drink, but avoid deep containers that can trap insects. If the water warms or grows cloudy, change it right away.
A small, reliable drink spot helps your garden support pollinators all season long.
Add Shelter And Nesting
Water is only one part of a welcoming pollinator garden; shelter and nesting spots help wildlife stay, rest, and raise young. You can add shelter types like dense shrubs, small trees, brush piles, and tall grasses to give insects, birds, and bees protection from wind, heat, and predators.
Leave a few bare soil patches for ground nesters, and keep some stems standing through winter for cavity nesters. You can also place bee hotels, but make sure they’re clean and dry. Offer nesting materials, such as twigs, dry leaves, moss, mud, and pet fur free of chemicals.
Avoid overtidying your beds, because a little mess supports life. When you layer cover, nesting sites, and safe water, you create a garden that truly works for pollinators.
Maintain Your Pollinator Garden Through the Seasons
As the seasons change, keep your pollinator garden healthy by adjusting care to match the weather and the needs of your plants. In spring, refresh mulch, divide overcrowded perennials, and watch for new growth.
Summer calls for deep watering at dawn and thoughtful seasonal care so blooms stay strong through heat. For pest management, inspect leaves often and remove trouble before it spreads.
Summer calls for deep watering at dawn and careful pest checks to keep blooms thriving through the heat.
- Cut back spent flowers after they finish blooming.
- Leave some seed heads for late-season food.
- Protect roots with mulch before frost arrives.
In fall, reduce watering as plants slow down, but keep the soil slightly moist during dry spells. In winter, let dormant stems stand when possible; they shelter beneficial insects and birds.
When you plan ahead and respond to each season, you support a resilient garden that feeds pollinators from the first thaw to the last freeze.
Avoid Common Pollinator Garden Mistakes
A healthy pollinator garden still needs the right setup to thrive, and a few common mistakes can quickly limit its success. You should avoid planting only one species, because strong plant diversity feeds more bees, butterflies, and other visitors.
Plan your garden layout so blooms sit in sunny, sheltered spots and cluster similar plants together for easy foraging. Choose seasonal blooms that carry nectar and pollen from spring through fall, and vary flower colors to attract different local wildlife.
Don’t overdo pest control; broad sprays can kill helpful insects along with pests. Skip heavy soil amendments unless a test shows you need them, since rich soil can favor leafy growth over flowers.
Instead, follow a simple maintenance schedule that includes weeding, watering, deadheading, and checking for gaps in bloom. If you stay attentive and make small adjustments, your pollinator garden will remain healthy, productive, and welcoming all year.
Frequently Asked Questions
Which Native Pollinators Are Most Common in My Region?
You’ll usually see honey bees, bumble bees, mason bees, hoverflies, butterflies, and native solitary bees first. Local honey bee species often dominate gardens, but your region’s native pollinators depend on climate, flowers, and habitat.
To explore butterfly diversity, look for species guides from nearby extension offices, parks, or native plant groups. You’ll get the most accurate list by matching your zip code with local pollinator surveys and seasonal sightings.
How Long Does It Take for a Pollinator Garden to Attract Bees?
You’ll usually see bees visiting your pollinator garden within a few days to a few weeks, especially if nearby populations are strong. Choose bloom-rich, native species for smart pollinator plant selection, and you’ll speed things up.
Keep flowers blooming from spring through fall, water new plants regularly, and skip pesticides. Use simple garden maintenance tips like deadheading and mulching, and you’ll make your garden a reliable bee magnet faster.
Can I Create a Pollinator Garden in a Small Container Space?
Yes, you can create a pollinator garden in a small container space. You can choose compact, nectar-rich plants, group pots for easy access, and place them in sunny spots.
With container gardening, you’ll give bees and butterflies flowers to visit, even on a balcony or patio. Keep soil moist, deadhead blooms, and mix bloom times so your small space keeps feeding pollinators all season.
Are There Pollinator Plants Safe for Pets and Children?
Yes, you can choose pet friendly flowers like zinnias, sunflowers, snapdragons, and calendula that attract pollinators while staying safer for kids and pets. You’ll still want to use safe gardening practices, like avoiding toxic pesticides, checking plant labels, and placing thorny or irritating plants out of reach.
If you’re unsure, verify each plant before buying, because some popular pollinator favorites can cause problems if nibbled.
How Can I Tell if My Garden Is Helping Pollinator Populations?
You can tell your garden’s helping when you see more bees, butterflies, moths, and hoverflies visiting regularly. Track pollinator indicators like species variety, visit frequency, and nesting activity.
Notice whether blooms stay busy across seasons and whether garden biodiversity increases with more insects and birds using the space. You’ll also likely see more fruit set and healthier plants.
Keep simple counts, photos, and notes to compare changes over time.
Conclusion
Ready to turn your yard into a buzzing haven? When you choose the right spot, plant blooms for every season, build healthy soil, and add water and shelter, you give pollinators everything they need to thrive.
Keep up with seasonal care and avoid common mistakes to keep your garden strong. Isn’t it amazing how a few simple steps can support bees, butterflies, and more all year long?
Your pollinator garden starts now, and with these steps, you’ll create a space that truly welcomes and sustains pollinators.