How to Remove Grass From Flower Beds in 7 Steps
If you’ve ever tried to keep your flower beds looking pristine, you know how frustrating it can be when grass keeps creeping in. You’re not alone—many gardeners struggle with removing grass from flower beds without damaging their plants.
It’s a common problem, but luckily, there are straightforward solutions that make the process easier and more effective.
You can remove grass from flower beds in 7 steps by gathering a hand fork, hori hori knife, spade, gloves, and a bucket. Then, cut the grass low so the bed edge is clear.
Next, loosen the sod in small sections, lift it with steady pressure, and pull out clumps by the roots.
Check for leftovers, mulch 2 to 3 inches deep, and keep checking for new shoots so your beds stay neat and healthy, with a few extra tips below.
Key Takeaways
- Mow and edge the grass low first, then use a sharp spade or edging tool to cut clean bed boundaries.
- Work in small sections, loosening turf with a hand fork, hori hori knife, or spade to avoid damaging flower roots.
- Lift sod in shallow slices, then pull or snip remaining grass clumps and roots from the soil.
- Remove any leftover root fragments, inspect for hidden runners, and collect debris for disposal.
- Spread 2–3 inches of mulch afterward and check regularly for new grass sprouts to prevent regrowth.
Remove Grass From Flower Beds Fast
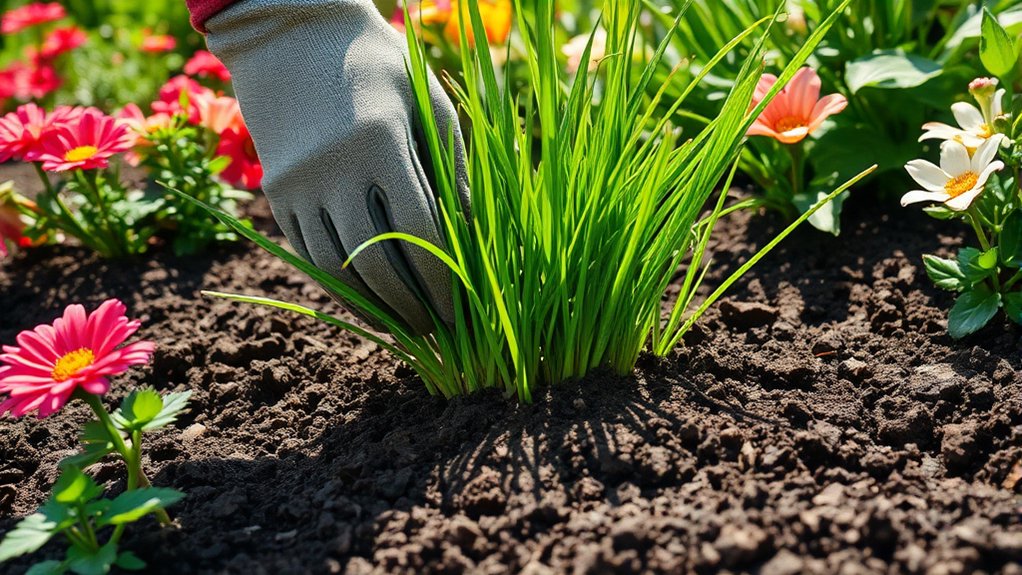
If you need to remove grass from flower beds fast, start by cutting it low. Then slide a sharp edging tool or spade just under the roots and lift the turf out in strips. Work in small sections so you can keep control and avoid tearing nearby roots.
For stubborn patches, loosen the soil first with a fork. Then pry up the grass with steady pressure. Shake off loose soil as you go, so you don’t haul away extra dirt.
Loosen stubborn patches with a fork, then pry up the grass steadily and shake off excess soil.
If runners spread through the bed, trace them back and pull them free before they regrow. These effective techniques give you quick solutions without damaging your flowers.
After you clear each section, rake the area smooth and inspect for missed roots. Pull out any remaining fragments now because even small pieces can spread again.
When you finish, water the bed lightly to settle the soil and spot any hidden clumps you need to remove.
Gather the Right Garden Tools

Grab the right tools before you start, and the job will go much smoother. You’ll save your back, protect nearby blooms, and feel more in control when you choose tools that fit the task.
Focus on practical garden tool types that let you work neatly around roots and edges. These essentials keep your hands steady and your mind calm.
| Tool | Why it helps |
|---|---|
| Hand fork | Lifts small clumps gently |
| Hori hori knife | Cuts tight spots with control |
| Weeding knife | Reaches stubborn edges |
| Garden gloves | Protects your skin and grip |
| Bucket or tarp | Holds debris for quick cleanup |
This small kit covers most essential gardening needs for the job. When you’ve got the right gear ready, you won’t waste energy searching for tools, and you’ll feel prepared instead of frustrated.
Keep everything within reach, and you’ll move through the bed with confidence.
Cut and Loosen the Grass
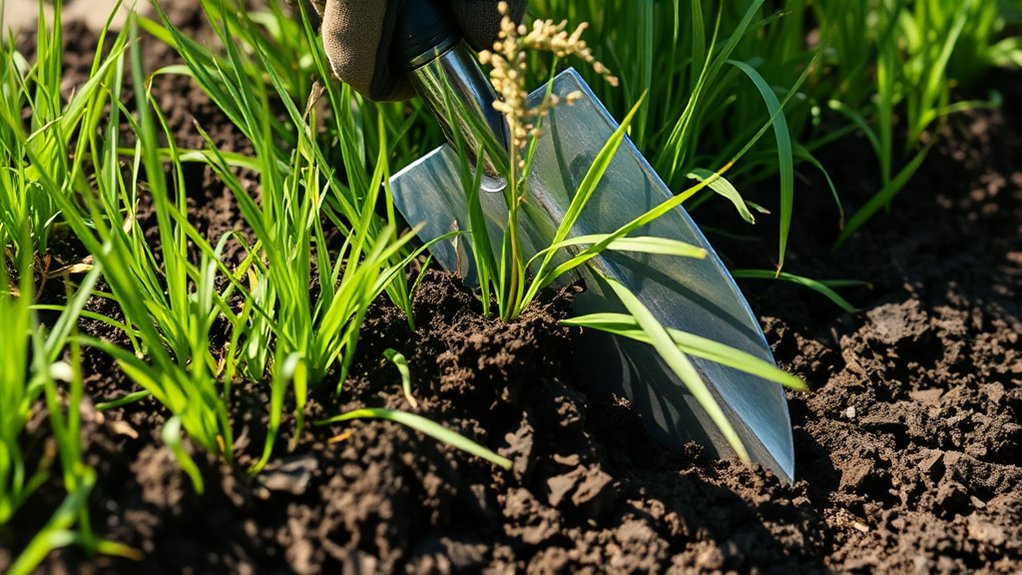
Start by trimming the grass edges. This helps define the bed clearly and keeps stray blades from creeping back in. Next, loosen any tough root clumps with a spade or hand tool. Be careful when working around the flower roots. Once the grass is loose, lift out the sod sections in manageable pieces. This makes for a cleaner removal.
Trim Grass Edges
Trim the grass edges first so you can separate the lawn from the flower bed cleanly. Use a sharp spade or edging tool, and keep your cuts vertical for neat edging techniques. Work slowly along the border, slicing through overhanging blades and making a crisp line that helps with lawn maintenance.
| Tool | Use | Result |
|---|---|---|
| Spade | Cut edge | Clean border |
| Half-moon edger | Slice turf | Defined line |
| Hand shears | Trim stray blades | Tidy finish |
| Gloves | Protect hands | Safer work |
| Rake | Gather clippings | Clear bed |
After you trim, brush away loose grass so you can see the boundary clearly. If the edge looks uneven, make a second pass with the same tool. Keep your strokes short and steady, and don’t rush the line.
Loosen Root Clumps
Now cut beneath the grass roots with a sharp spade or garden knife to loosen stubborn clumps at the bed edge. Work a few inches deep, then rock the blade gently to sever hidden runners without tearing nearby ornamentals.
As you slice, keep the cut clean and controlled so you don’t disturb root health in your flowers. If the soil feels tight, make a second pass to break up compacted strands and improve soil aeration around the border.
Pull back only the loosened grass enough to expose attached roots, then snip any remaining threads. This step weakens the turf and makes later removal faster while protecting the surrounding bed.
Move slowly, check your line often, and keep your tool sharp for precise cuts every time.
Lift Sod Sections
Slide your spade or knife under the loosened grass and cut the sod into manageable strips or squares. Keep the blade shallow so you preserve nearby flower roots while you separate the turf. Use steady pressure, then pry each section up with both hands for effective lifting.
If a piece resists, slice beneath it again instead of yanking.
| Action | Result | Feeling |
|---|---|---|
| Cut cleanly | Neat edges | Relief |
| Lift slowly | Less tearing | Confidence |
| Stack sod | Easier hauling | Control |
| Clear the bed | Open soil | Satisfaction |
These sod removal techniques help you work faster and reduce strain. Move methodically across the bed, and set each section aside before it can re-root.
Pull Out the Grass Clumps
Grip each grass clump at the base and pull steadily upward to remove as much of the root system as you can. If the clump resists, wiggle it gently instead of yanking. This helps loosen the hold without tearing nearby plants.
Work in small sections so you can see exactly what you’re removing and keep your flower bed maintenance routine on track. These grass removal techniques work best when the soil is slightly moist because damp earth releases clumps more easily than dry, compact ground.
Keep a hand tool nearby to pry under thick patches, but use your fingers for better control around delicate roots and stems. Place each removed clump in a bucket or tarp so you don’t scatter pieces back into the bed.
Move slowly and check for any grass blades hiding between flowers. Taking your time now makes the bed cleaner, tidier, and easier to care for later.
Remove Leftover Roots
After you pull the visible clumps, check the soil for any roots left behind. Use a hand fork, narrow trowel, or weeding knife to loosen the top few inches and lift out each fragment. Work slowly around plant crowns so you don’t slice into nearby flowers.
If a root snaps, follow it deeper and remove every piece you can reach. These root removal techniques help stop grass from growing back and keep your bed cleaner with less effort later.
For tight spaces, pinch the root with gloved fingers and tug gently while the soil is damp. Damp soil gives you better control and makes roots easier to extract. Sift through the loosened dirt with your hands to find hidden runners and fibrous strands.
Repeat your inspection from different angles, since some roots hide under mulch or beside stones. Consistent cleanup is one of the most effective weeding methods because it removes the source, not just the top growth.
Mulch the Bed to Block Regrowth
Spread a fresh layer of mulch over the bed to block light and discourage any grass you missed from sprouting again. You’ll also give your flowers a cleaner, more finished look. Aim for a 2- to 3-inch layer, but keep it a little away from stems so you don’t trap moisture against plants.
| Mulch type | Best use |
|---|---|
| Shredded bark | Beds with shrubs and perennials |
| Straw | Temporary coverage after weeding |
| Compost | Nourishing organic options |
Choose mulch types that match your garden style and maintenance needs. If you want a natural boost, organic options like bark, wood chips, or compost break down over time and improve soil. Rake the mulch smooth so it covers bare spots evenly, then check for thin areas after rain or watering.
A solid mulch layer helps shade the soil and makes it harder for stray grass to reappear.
Keep Grass From Coming Back
To keep grass from creeping back into your flower beds, stay ahead of new growth with quick, regular checks. Pull any sprouts as soon as you spot them before roots spread and strengthen.
Water only the plants that need it because excess moisture can feed nearby grass. Refresh mulch each season so it keeps blocking light and discouraging seedlings.
You can also edge beds deeply to create a clear line between turf and flowers. If grass keeps invading from surrounding lawn, install landscape barriers to slow runners and make maintenance easier.
Use preventative measures like mowing the lawn short near bed edges and cleaning tools after use so you don’t move seeds or rhizomes around. A few minutes of attention each week will save you hours later and help your flower beds stay neat, open, and grass-free.
Frequently Asked Questions
When Is the Best Season to Remove Grass From Flower Beds?
Spring and early fall are your best seasons for removing grass from flower beds. You’ll get spring timing that lets you tackle fresh growth before weeds spread, and you’ll enjoy seasonal benefits from moist soil and moderate temperatures.
In spring, grass pulls up more easily after rain, while fall helps you clear beds before winter sets in. Choose a dry day, and you’ll make cleanup faster, easier, and more effective.
Can I Remove Grass Without Harming Nearby Flower Roots?
Yes, you can, if you work carefully and choose smart grass removal techniques. You’ll protect nearby roots by hand-pulling, edging, and mulching, not by digging deeply or spraying harsh chemicals.
You’ll lift grass in small sections, cut shallowly, and water lightly to loosen soil. You’ll keep tools away from stems, and you’ll cover exposed roots quickly for better flower bed protection.
Move slowly, stay precise, and your flowers should stay safe.
What Should I Do With the Removed Grass Clumps?
You should bag the removed grass clumps right away, then decide whether to compost them or trash them. If the grass has seed heads or weeds, don’t add it to your pile because it can spread problems.
For clean clumps, grass composting works well if you mix them with dry browns. You can also use them as mulch options, but only after drying them completely and checking they’re weed-free.
How Often Should I Check for New Grass Growth?
You should check for new grass growth weekly at first, then every two weeks once things settle down. Keep an eye out for subtle grass growth indicators like fresh blades, pale shoots, or sneaky runners peeking through.
Use simple monitoring techniques such as a quick walk-through after watering or rain. If you spot any green gatecrashers, pull them promptly so they don’t invite more company into your flower beds.
Are There Safe Alternatives to Chemical Weed Killers?
Yes, you can use safe alternatives like natural herbicides and organic mulching. You’ll control unwanted growth without harsh chemicals by pouring boiling water on small patches, using vinegar-based sprays carefully, or smothering grass with cardboard and mulch.
You should also pull shoots by hand when the soil is moist. These methods work best when you stay consistent and reapply as needed, especially after rain or watering.
Conclusion
You’ve cleared the bed, but the work isn’t over. One minute, grass creeps in like an unwelcome guest; the next, your flowers have room to breathe and shine.
Rake out the last roots and spread mulch. You’ll turn a messy border into a clean, polished space.
Keep watching for new shoots and pull them fast. With a little care now, you’ll spend less time fighting weeds and more time enjoying blooms.
Following these steps to remove grass from flower beds will help you maintain a beautiful garden with less effort.