How to Grow Microgreens Indoors in 5 Steps
Growing fresh, nutritious microgreens indoors can seem tricky if you’re not sure where to start. You’re not alone—many people struggle with finding the right method to get those tiny plants thriving in their homes.
But with the right approach, growing microgreens indoors can be simple and rewarding.
You can grow microgreens indoors in five steps: gather shallow trays, a light growing medium, a spray bottle, and a bright spot or grow light.
Choose fresh, untreated seeds like radish or broccoli, then spread them in a single layer and mist gently.
Keep them covered for humidity, then give them bright light, steady moisture, and a little airflow.
Harvest when the first true leaves appear, and you’ll soon see how easy it gets.
Key Takeaways
- Gather shallow trays, a clean spray bottle, bright light, and a light growing medium like soil, coco coir, or hemp mats.
- Choose fresh, untreated microgreen seeds such as radish, broccoli, arugula, or sunflower from a trusted supplier.
- Sow seeds evenly in a single layer, press them lightly into the medium, and mist to settle them.
- Cover the tray loosely for humidity. Then provide bright light, gentle bottom watering, and airflow after germination.
- Harvest when true leaves appear, cutting just above the soil line with clean scissors for fresh, compact microgreens.
What You Need to Grow Microgreens Indoors
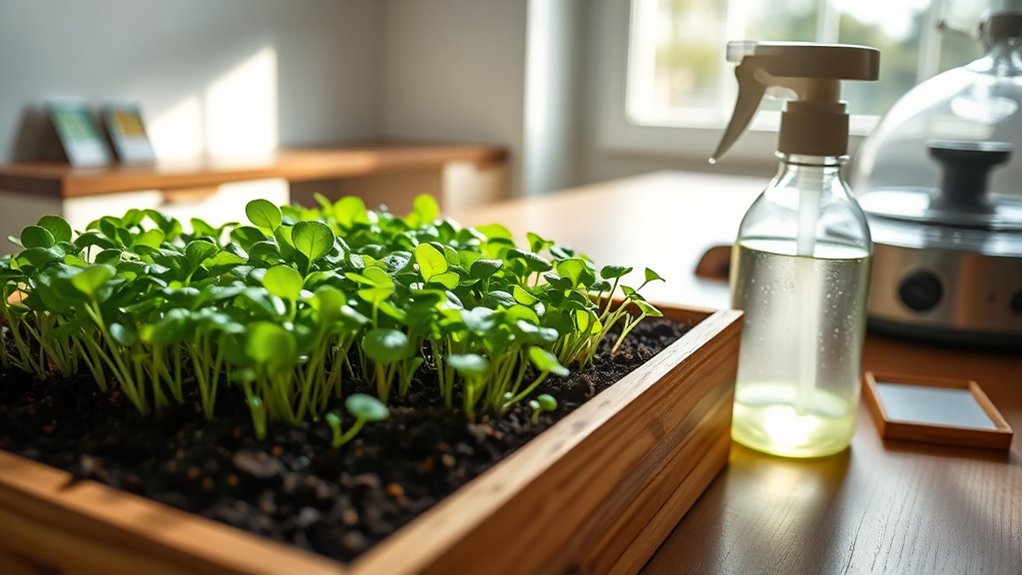
To grow microgreens indoors, you only need a few basic supplies: seeds, a shallow growing tray, a light growing medium, water, and a bright spot or grow light. You can use several container options, such as nursery trays, recycled food tubs, or shallow baking pans, as long as they drain well or let you control moisture.
Pick a clean spray bottle to mist the surface without disturbing tiny sprouts. You’ll also want a clear cover or another tray to hold humidity during germination. Use plain water for most setups; you don’t need nutrient solutions at this stage.
If you plan to reuse equipment, wash it thoroughly to prevent mold and disease. Set everything near a sunny window or under a full-spectrum light, and keep a small fan nearby if airflow is limited. With these basics ready, you can start growing quickly and keep the process simple.
Choose the Best Microgreens Seeds and Medium
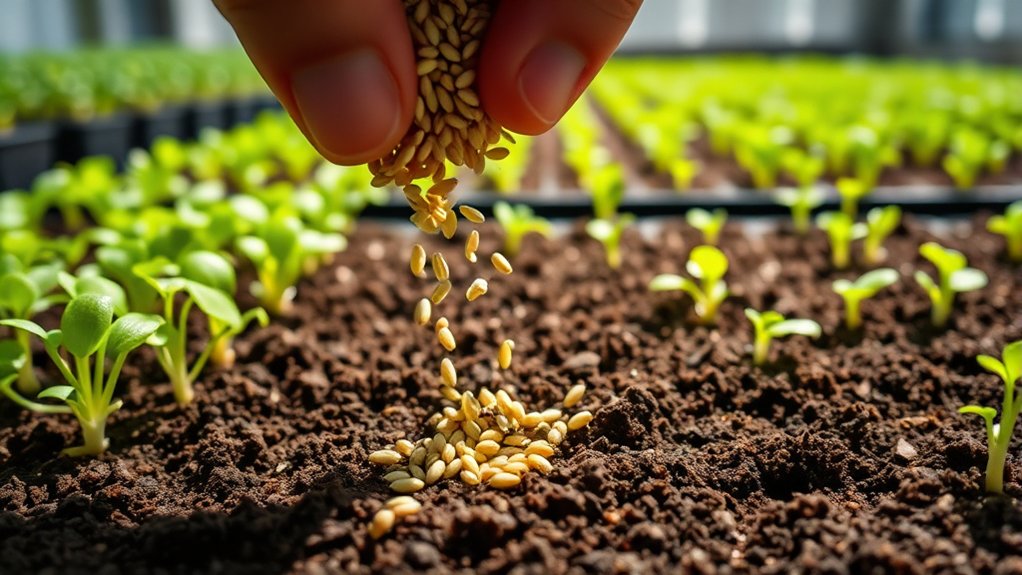
The best microgreens start with the right seed and growing medium. You’ll get faster, tastier harvests when you pick reliable seed varieties and a clean, supportive base. Choose seeds labeled for microgreens or sprouting; they should be untreated and fresh. Popular choices include radish, broccoli, arugula, and sunflower because they germinate evenly and deliver strong flavor.
| Seed variety | Flavor | Best medium |
|---|---|---|
| Radish | Peppery | Coco coir |
| Broccoli | Mild | Soil mix |
| Sunflower | Nutty | Hemp mat |
| Pea | Sweet | Coco coir |
For growing mediums, you can use soil, coco coir, hemp mats, or other peat-free growing mediums that hold moisture without compacting. Pick one that stays airy and drains well, so roots spread easily. Match your seeds to your setup, then buy extra from a trusted supplier. Quality now saves you trouble later and helps you grow uniform, healthy trays indoors.
Sow and Mist Microgreens Correctly

Gently spread your seeds in an even, single layer across the surface so they’re close enough to germinate well but not so crowded that they compete. Use steady sowing techniques, and press lightly so each seed makes good contact with the medium. If you’re working with tiny seeds, tap them from your fingers for a more even scatter.
Mist right after sowing to settle the seeds without washing them away. Your misting methods should create a fine spray, not a stream, so the surface stays evenly damp. Covering the tray loosely can help hold humidity while the seeds wake up.
- Sow thinly for uniform growth.
- Mist gently to avoid displacement.
- Check moisture often and re-mist as needed.
Keep the top layer moist, but don’t soak it. Consistent moisture encourages quick, even germination and helps you start strong before the next stage of growth.
Provide Light, Water, and Airflow
Once your microgreens sprout, give them bright light so they stay compact and green instead of stretching toward the sun. Place them under a grow light or a sunny window, and keep the light close enough to provide strong light intensity without scorching the leaves. Rotate trays daily if one side leans toward the source.
Water gently from the bottom or with a fine mist so you don’t flatten the stems. Keep the growing mix evenly moist, but don’t let it sit soggy, or roots can suffocate.
Check humidity levels often; too much moisture in the air can encourage mold, while very dry air can make seedlings wilt. You should also move air around the trays with a small fan on low. Good airflow strengthens stems, reduces damp spots, and helps your greens grow evenly.
If condensation builds on the cover or tray edges, increase ventilation right away.
Harvest Microgreens at the Right Time
When your microgreens have developed their first true leaves, it’s usually time to harvest them. Watch for ideal timing because waiting too long can make stems tougher and flavors stronger than you want. Use clean scissors or a sharp knife, and cut just above the soil line for the best harvesting techniques.
Harvest microgreens at their first true leaves for the freshest, most tender flavor.
If you’re growing a dense tray, lift small sections gently so you don’t bruise the delicate greens.
- Check color: vibrant green usually signals peak freshness.
- Taste a sample: mild, crisp flavor often means you’ve nailed the harvest window.
- Harvest in the morning: leaves stay firmer and juicier then.
After cutting, rinse only if needed, then dry the greens well before storing them. Use them right away for the best texture and nutrition. If a few stems look uneven, don’t worry; you can harvest the tray in one pass and still get excellent results.
Frequently Asked Questions
How Do I Prevent Mold on Indoor Microgreens?
You prevent mold on indoor microgreens by improving mold prevention with airflow, clean trays, and careful watering. Keep humidity control steady by misting lightly, then letting the surface dry a bit between watering.
Don’t crowd seeds, and use fresh, sanitized soil or mats. Place a fan nearby and remove excess water from trays. If you spot mold, cut back moisture immediately and increase ventilation to protect your crop.
Can I Grow Microgreens Without Sunlight?
Absolutely, you can grow microgreens without sunlight. In this digital age, you’ll thrive with LED lighting for indoor gardening, since it gives your trays the bright, consistent light they need.
Place the lights a few inches above the greens, run them 12–16 hours a day, and keep the setup clean. You’ll still need water, airflow, and attention, but sunlight isn’t required for healthy, tasty microgreens.
Which Microgreens Are Safest for Beginners?
For beginners, you’ll have the safest results with easy varieties like radish, pea shoots, sunflower, and broccoli microgreens. You can grow these quickly, they’re forgiving, and they offer strong nutritional benefits without much fuss.
Start with clean seeds, fresh water, and good airflow to reduce mold. You’ll also want to harvest them young for the best flavor and texture. Stick with these, and you’ll build confidence fast.
How Often Should I Clean My Growing Trays?
You should clean your growing trays after every harvest, and you should scrub them immediately if you notice mold, residue, or pests. Your cleaning frequency matters because dirty trays can spread disease and slow growth.
Wash plastic or other tray materials with warm water and mild soap, then rinse and dry them completely. If you reuse trays often, sanitize them occasionally to keep your greens healthy and your setup running smoothly.
Are Microgreens Safe to Eat Raw?
Yes, you can eat microgreens raw, but the real question is what you’re risking if you don’t handle them well. You’ll get their nutritional benefits only when you wash, store, and harvest them cleanly.
Raw consumption works best with fresh, healthy sprouts from trusted seeds and trays. If you notice mold, sliminess, or bad smells, don’t eat them.
Careful growing keeps your plate safe and your harvest delicious.
Conclusion
Growing microgreens indoors is simple: gather your supplies, choose the right seeds and medium, sow and mist carefully, then give them light, water, and airflow. In just a little time, those tiny seeds become vibrant greens ready to harvest.
Isn’t it amazing how so much flavor and nutrition can come from so little? With a bit of patience and care, you’ll enjoy fresh microgreens right from your own home, any time of year. Growing microgreens indoors lets you have healthy, fresh greens at your fingertips whenever you want.