How to Prepare Ground for Planting in 3 Steps
Preparing ground for planting can feel overwhelming, especially if you’re not sure where to start or if your soil is less than ideal. You’re not alone—many people struggle with getting their garden beds ready to give plants the best chance to thrive.
That’s why understanding how to prepare ground for planting in simple, manageable steps is so helpful.
Start by clearing the bed: pull out old stems, fallen leaves, and weeds, making sure you get the roots.
Next, loosen the soil with a garden fork or spading fork, rocking it gently to open up compacted ground and improve drainage.
Then spread a 1- to 2-inch layer of compost, work it in lightly, and rake the surface smooth so seeds or transplants settle well, and you’ll be ready for a few helpful extra tips.
Key Takeaways
- Clear the bed of old stems, leaves, rocks, and weeds. Pull unwanted plants out by the roots.
- Loosen compacted soil with a fork or broadfork to improve drainage, airflow, and root growth.
- Spread a 1 to 2 inch layer of compost over the bed to enrich soil and improve texture.
- Work the compost lightly into the top few inches of soil, removing debris as you go.
- Rake the surface smooth and level so seeds and transplants make good soil contact.
Clear the Bed and Remove Weeds

Start by clearing the bed so your plants have room to grow. Pull out old stems, fallen leaves, and any trash that could block bed preparation.
Clear the bed first, removing old stems, fallen leaves, and debris so planting can begin cleanly.
As you work, inspect the area for unwanted growth and practice weed identification so you can remove the right plants, not your seedlings. Grasp weeds near the base and lift them out with the roots if you can.
For stubborn ones, use a hand tool to loosen the soil around them just enough to get a clean pull. Check corners, edges, and between rocks or borders, since weeds often hide there.
Don’t let pulled weeds stay on the bed; toss them in a pile or compost only if they haven’t gone to seed. When you finish, rake the surface lightly so the area looks tidy and ready for the next step.
A clean bed helps you plant with confidence and keeps competition low.
Loosen the Soil for Planting
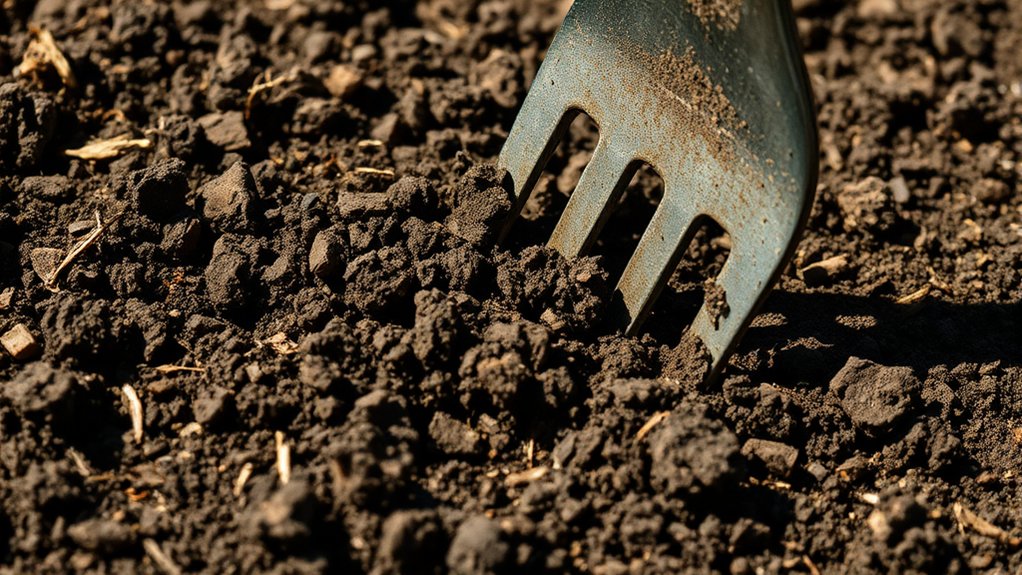
Once the bed is cleared, work the soil so roots can spread easily. You can use a garden fork, spading fork, or broadfork to break up compacted layers without flipping the soil too much. Push the tool in, rock it back, and lift to create channels for air and water.
If the ground is very hard, repeat this across the bed in a grid so you loosen it evenly. These soil aeration techniques help roots move deeper and reduce runoff after watering.
For larger spaces, choose tilling methods that match your soil type and plot size. A shallow pass works better than aggressive digging in many gardens because it preserves structure and avoids extra compaction.
Work when the soil is slightly moist, not wet or dusty, so it crumbles instead of clumping. As you go, break big chunks into smaller pieces with your tool. The goal is a loose, open bed that supports steady root growth and healthy early establishment.
Add Compost and Rake It Smooth
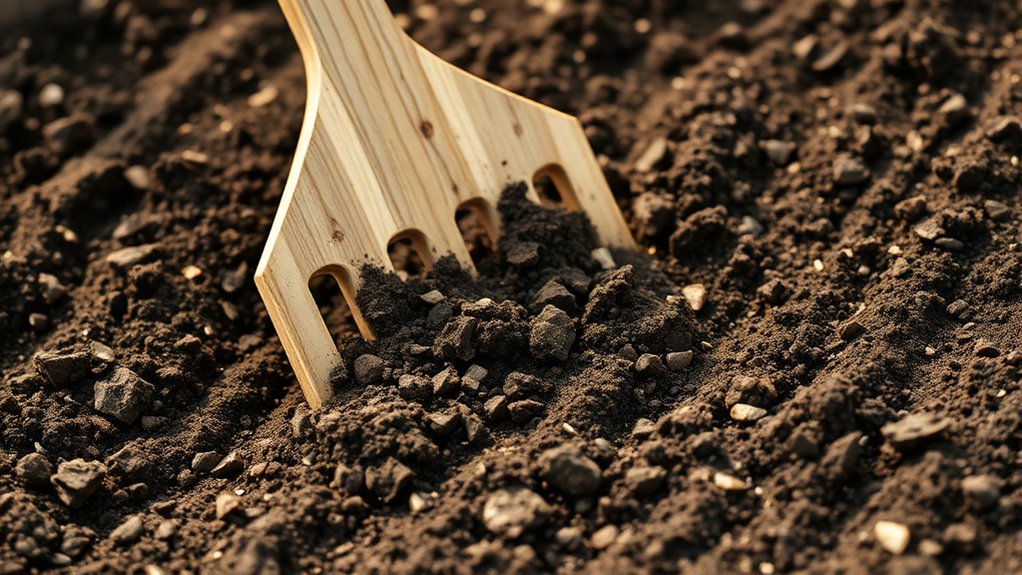
Spread a 1 to 2 inch layer of compost over the loosened bed, then work it lightly into the top few inches of soil with a rake or garden fork. This step boosts compost benefits by feeding helpful microbes, improving texture, and helping the ground hold moisture without turning soggy.
As you blend it in, you also add soil nutrients that support strong roots and steady growth. Keep the rake moving in smooth, even strokes so you don’t create dips or mounds. Break up any clumps as you go, and remove stones, roots, or other debris that could block young plants.
When the surface looks level, finish by raking it flat and fine. A smooth bed makes planting easier, helps seeds settle evenly, and gives transplants better contact with the soil. If the bed settles a little after watering, give it one more light rake before you plant.
Frequently Asked Questions
When Is the Best Season to Prepare Garden Ground?
The best season to prepare garden ground is usually fall, because you can improve soil before winter and let it settle. You’ll also save time for spring planting.
If you miss fall preparation, early spring works too, once the soil isn’t wet or frozen. You should avoid working ground when it’s soggy, since that can damage structure.
Aim for mild, dry weather, and you’ll set your garden up for success.
How Deep Should Raised Beds Be for Vegetables?
You should make raised beds 12 to 18 inches deep for most vegetables since that suits common vegetable root depth. If you’re growing carrots, potatoes, or other deep-rooted crops, aim for 18 to 24 inches.
Match the raised bed dimensions to what you’ll plant and how much soil you can fill. Deeper beds drain better, warm faster, and let you control soil quality more easily for strong growth.
Which Soil pH Works Best for Most Plants?
You’ll usually do best with soil around pH 6.0 to 7.0 for most plants, so it’s a bit of a Renaissance-era sweet spot. Test your soil first with pH testing, then adjust as needed.
If it’s too acidic, add lime. If it’s too alkaline, use sulfur or other soil amendments. You’ll give roots a friendlier environment and help nutrients stay available, which means stronger, healthier growth overall.
Do I Need to Test for Soil Contamination First?
Yes, you should test for soil contamination first if you’re planting in a new or questionable spot. Soil testing can reveal lead, pesticides, or other hazards before you dig in.
Check likely contamination sources like old paint, treated wood, roadsides, or past industrial use. If tests show problems, you can raise beds, replace soil, or choose a safer site.
Testing first protects your plants and your health.
How Often Should Prepared Soil Be Watered?
You should water prepared soil whenever the top inch starts drying, not on a fixed schedule. Check soil moisture with your finger, and adjust watering frequency based on heat, wind, rain, and soil type.
You want the ground evenly damp, not soggy, so roots can settle well. Lightly water more often in sandy soil, but less often in clay. Keep checking daily until plants establish.
Conclusion
Now you’re ready to plant with confidence. First, clear the bed and pull out every weed so your plants won’t compete for space.
Next, loosen the soil so roots can spread easily and find what they need. Then add compost and rake it smooth to give your garden a healthy start.
Remember, a little prep goes a long way. As the saying goes, “Well begun is half done.” Your plants will thank you for proper ground preparation.