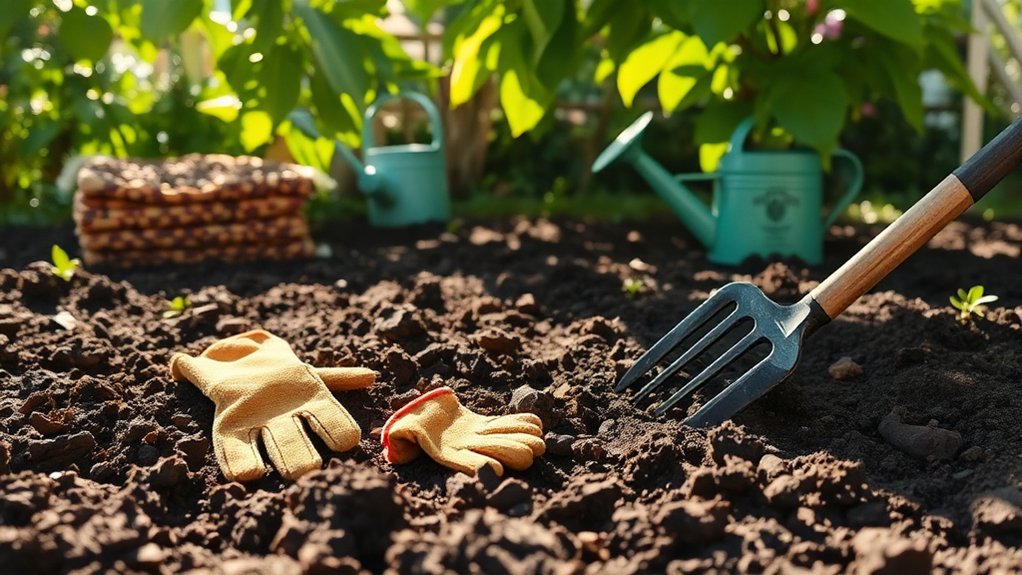
How to Prepare Soil for Planting in 7 Steps
If you’ve ever struggled to get your garden off to a strong start, you’re not alone. Many people find preparing soil for planting confusing and time-consuming, which can lead to poor plant growth and frustration.
But with the right approach, you can create a healthy foundation that helps your plants thrive from day one.
Start by testing your soil and drainage so you know the pH, nutrients, and texture you’re working with. Clear out weeds, roots, rocks, and debris, then loosen the ground deeply with a fork or spade.
Mix in 2 to 4 inches of compost, adjust pH if needed, and level the bed. Finally, water the soil lightly and let it settle before planting.
Do it well, and you’ll set up stronger growth from the start.
Key Takeaways
- Test soil pH, nutrients, and drainage before planting to identify needed amendments. This helps you know exactly what your soil needs.
- Remove weeds, rocks, sticks, and old roots to start with a clean bed. It makes planting easier and healthier for your plants.
- Loosen compacted soil deeply without overworking it, especially when it’s slightly moist. This way, roots can grow better.
- Mix in 2 to 4 inches of finished compost to improve texture and fertility. Compost adds nutrients and helps the soil retain moisture.
- Adjust pH if needed, level low spots, and confirm even moisture before planting. These steps make sure your plants get off to a good start.
Test Your Soil and Drainage
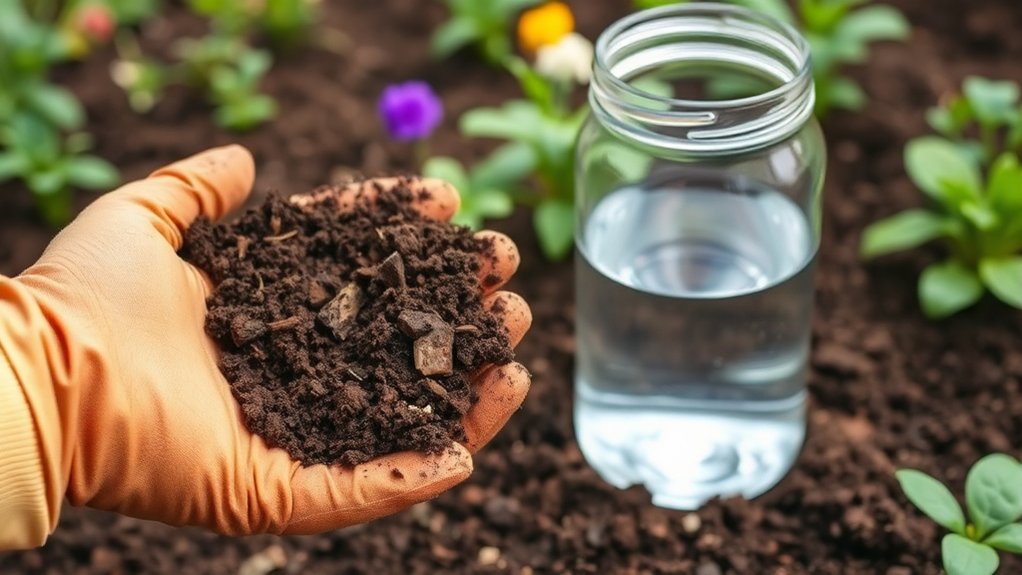
Before you plant anything, test your soil so you know what it can support. You can buy a simple home kit or send a sample to a local extension lab. Check pH, nutrient levels, and soil composition so you understand whether your bed leans sandy, silty, or clay-heavy. That tells you how water and roots will behave.
If the test shows poor fertility, you can plan amendments before planting. Next, watch how water moves after a deep watering or rain. If puddles stay for hours, your ground needs drainage solutions. You might raise the bed, add compost, or carve shallow channels to move excess water away.
If water disappears too fast, the soil may need more organic matter to hold moisture. Good testing saves time, prevents stress, and helps you choose plants that’ll thrive in your space from the start.
Clear Weeds and Debris

Start by clearing away any surface debris like rocks, sticks, and old plant matter from the soil. Then, make sure to pull up weeds by the roots so they don’t come back and compete with your plants. Also, check for any root fragments left behind and clear those out too. This way, your new plants get a fresh, clean start.
Remove Surface Debris
Pull weeds, grass, rocks, sticks, and any other surface debris from the planting area so your seeds or transplants can get off to a clean start. This simple step supports soil health by letting sunlight, air, and water reach the ground evenly.
As you clear the surface, keep organic matter like healthy mulch or compost separate from trash so you can reuse it later. A tidy bed also helps you judge soil texture, moisture retention, and nutrient balance before planting.
With fewer hiding spots, you improve pest management and reduce problems later. Remove leftover litter now, then match your cleanup to your crop rotation and planting schedule so you’re ready for the next task without delay.
Pull Up Weeds
Grip each weed at the base and tug steadily to remove the roots, not just the top growth. You’ll save time later by clearing weeds before they spread and steal moisture, light, and nutrients from your crops.
Work when the soil is slightly damp, so plants release more easily, and keep your pulls close to the ground for cleaner results. Use these steps for better natural weed control:
- Scan the bed for young weeds and spot them early.
- Pull each one with a twisting motion to loosen its hold.
- Gather the removed weeds and add them to your debris pile.
After weeding, smooth the surface and water lightly to settle the soil. A clean bed also supports effective mulching, which helps block new weeds and keeps your planting area ready.
Clear Root Fragments
Once the visible weeds are gone, go back through the bed and remove any root fragments, stones, sticks, and other debris left behind. You’ll improve root health by clearing anything that could block new roots from spreading evenly or stealing moisture.
Use your hands, a hand fork, or a rake to search the top few inches of soil, and inspect corners and edges where debris often hides. Careful fragment removal now saves you trouble later, since leftover pieces can resprout or interfere with planting holes.
If you find large roots, loosen the soil around them first, then lift them out cleanly. Finish by smoothing the bed so it looks even and feels loose underfoot. This clean start helps seeds and transplants establish faster.
Loosen the Soil Deeply

Start by loosening the soil deeply so roots can move down easily and water can drain well. Use a garden fork, spade, or broadfork to break compacted layers without turning the whole bed into dust. This step improves soil aeration techniques and helps you judge how hard the ground feels below the surface.
Focus on steady, even passes, and work when the soil is slightly moist, not soggy or bone dry. Deep tilling benefits show up when roots spread farther, moisture reaches lower layers, and seedlings establish faster.
- Push the tool in, then rock it back to open channels.
- Move across the bed in rows so you don’t miss tight spots.
- Check depth often and stop before you bring up hard subsoil.
After loosening, rake the surface smooth so you’re ready for planting.
Mix in Compost and Nutrients
Blend compost and nutrients into the loosened soil to give plants a strong start. You can spread 2 to 4 inches of finished compost across the bed, then work it in evenly with a shovel or garden fork. Compost improves texture, helps the soil hold water, and supports beneficial microbes, so your plants can root faster.
Use it for its compost benefits instead of relying on raw manure or fresh yard waste, which can harm seedlings. Add balanced nutrient sources, such as aged compost, worm castings, bone meal, or a complete organic fertilizer, based on what you’re growing.
Mix everything through the top 6 to 8 inches so roots meet nourishment right away. If your soil feels heavy, add a little more compost to lighten it. If it seems sandy, compost will help it retain moisture and nutrients longer.
Finish by raking the surface smooth so the bed’s ready for planting.
Adjust Soil pH
Next, test your soil’s acidity so you know where it stands before planting. If the pH is too low, you can raise it with lime. On the other hand, if it’s too high, you can lower it with sulfur or another soil acidifier. Getting the pH right really helps your plants absorb nutrients more effectively.
Test Soil Acidity
Before you plant, test your soil’s pH so you know whether it’s too acidic or too alkaline for the crops you want to grow. Use soil testing to measure the current level, then compare it with the needs of each plant. Some vegetables prefer a slightly acidic range, while others tolerate more neutral soil.
When you understand acidity effects, you can avoid poor germination, weak roots, and nutrient lockout that can slow growth.
- Collect samples from several spots in the bed.
- Follow the test kit directions carefully.
- Record the result for each area.
Check your soil again after amendments settle, because conditions can shift over time. That way, you’ll make smarter planting decisions and give your crops a stronger start.
Raise Or Lower pH
Once you know your soil’s pH, you can adjust it to match what you plan to grow. If the soil is too acidic, add lime to raise pH gradually. If it’s too alkaline, work in sulfur, pine needles, or other acidifying soil amendments to lower it.
Don’t guess. Repeat pH testing after each treatment so you can track changes and avoid overcorrecting. Mix amendments into the topsoil evenly, then water well to help them start working.
Make small adjustments since soil chemistry shifts slowly and plants can suffer from sudden changes. Aim for the range your crop prefers, because the right pH helps roots absorb nutrients efficiently.
With careful testing and steady amendments, you’ll create a healthier, more productive planting bed.
Level and Shape the Bed
Rake the soil until the bed looks even, then shape it into a smooth, slightly raised mound with gently sloping sides. Keep the top flat enough for accurate bed dimensions, but don’t compact it while you work. This shape helps your planting layout stay orderly and gives roots room to spread without puddling at the edges.
Rake the bed smooth, shape a gentle mound, and keep the top level for tidy, even planting.
- Check the outline from every side and trim high spots first.
- Pull loose soil into low areas so the surface stays level.
- Run a hoe or rake lightly across the top to finish the grade.
If you’re building multiple beds, match their height and width so you can move between them easily and keep spacing consistent. As you finish, look for clumps, dips, or sharp ridges and smooth them out. A clean, balanced bed makes planting simpler and helps each seed or transplant start in the same conditions.
Water the Soil and Let It Settle
After you’ve shaped the bed, give it a thorough watering so the soil can settle into place. Use a gentle shower to avoid washing away your work, and keep watering until the top few inches feel evenly moist. Proper soil moisture helps particles knit together, fills air gaps, and creates a stable base for roots.
Let the bed rest for a day or two, then check for low spots and top them off if needed. This pause also shows you whether your planting techniques will work in the actual bed conditions.
| Checkpoint | What to Do | Why It Matters |
|---|---|---|
| Surface | Look for puddles | Prevents waterlogging |
| Texture | Squeeze a handful | Confirms moisture level |
| Settling | Refill dips | Keeps roots level |
| Timing | Wait before planting | Improves bed stability |
| Drainage | Watch runoff | Protects seedbeds |
When the soil settles, you’ll plant into a firmer, more reliable foundation.
Frequently Asked Questions
How Often Should I Retest Soil After Amendments?
You should retest soil about 3 to 6 months after you apply amendments, then once a year if you keep gardening in the same spot. Soil testing tells you whether nutrients and pH actually shifted, and amendment timing helps you avoid overcorrecting.
If you made a big change, like adding lime or compost, check sooner. For small tweaks, wait through one growing season and test again before adding more.
Can I Plant Directly After Adding Compost?
Yes, you can plant right after adding compost, but you’ll get better results if you work it in first, like a time traveler with a shovel. Compost benefits your soil by improving structure and feeding microbes, yet planting timing matters.
If you’re sowing seeds, wait a bit so the soil settles. For transplants, you can plant sooner. Keep the layer thin, water well, and you’re good to go.
What Tools Work Best for Breaking Compacted Soil?
A garden fork or broadfork works best for breaking compacted soil because you can lift and loosen it without flipping layers. You’ll improve soil aeration fast with these tools, especially in small beds.
For larger areas, use a rotary tiller and steady tilling techniques, but don’t overwork the soil. If it’s very hard, add water first and work in compost after you’ve loosened it.
How Do I Improve Sandy Soil Without Overwatering?
You can improve sandy soil by mixing in sandy soil amendments like compost, well-rotted manure, and coconut coir. These materials boost moisture retention without sogginess.
Spread a 2- to 3-inch layer over the bed, then work it into the top 6 to 8 inches of soil. Mulch after planting to slow evaporation, and water deeply but less often.
You’ll build healthier soil that holds nutrients and supports roots better.
Should I Mulch Before or After Planting?
After you plant, you’ll usually mulch. That’s the ideal timing because you won’t smother seeds or hide tiny seedlings. Still, you can spread a thin layer first if you’re planting larger transplants.
Mulch benefits include moisture retention, weed suppression, and steadier soil temperature. Just leave a small gap around stems so you don’t trap rot. With the right timing, you’ll give your plants a stronger start.
Conclusion
With your soil tested, cleared, loosened, enriched, and leveled, you’re ready to plant with confidence. Isn’t it satisfying to know you’ve built a strong foundation for healthy roots and better harvests?
By following these seven steps, you’ve given your garden the best possible start. Now all that’s left is to water carefully, watch for settling, and get planting.
A little prep now can mean bigger, healthier growth later. Preparing soil for planting is the key to a thriving garden!