How to Prepare Soil for Planting Flowers in 7 Steps
Getting your flower bed ready for planting can feel overwhelming, especially if you’re unsure where to start or how to create the perfect environment for your blooms. You’re not alone—many people struggle with preparing soil that supports healthy, vibrant flowers.
The good news is that with the right steps, you can transform your garden soil into a nutrient-rich foundation that helps your flowers thrive. How to Prepare Soil for Planting Flowers.
Start by testing your soil so you know its pH and nutrient levels. Then clear away weeds, rocks, and old roots.
Loosen compacted soil with a fork or spade, and mix in 2 to 3 inches of compost to boost texture and fertility. Add lime or sulfur if needed, level and shape the bed, then water it deeply and let it settle.
With a few more tips, you can make your flowers thrive.
Key Takeaways
- Test the soil first for pH, texture, and nutrients. Then adjust with lime, sulfur, or fertilizer as needed.
- Clear the planting area by removing weeds, stones, debris, and old roots to reduce competition.
- Loosen compacted soil with a fork or spade to improve drainage, aeration, and root growth.
- Mix 2 to 3 inches of compost into the top 6 to 8 inches of soil to enrich and improve structure.
- Rake the bed level, water it deeply, and let it settle before planting flowers.
Test Your Soil Before Planting Flowers
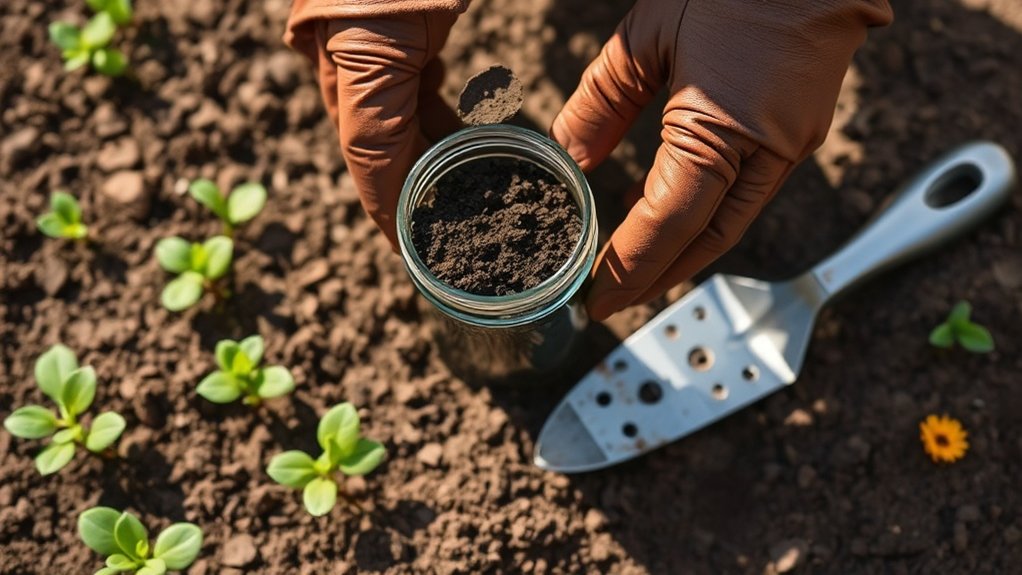
Before you plant flowers, test your soil to see what it already has and what it’s missing. Soil testing gives you a clear picture of pH, texture, and fertility so you can choose flowers that’ll thrive instead of struggle. Use a home kit or send a sample to a lab for a more detailed nutrient analysis.
Test your soil first to learn its pH, texture, and fertility before planting flowers.
Follow the kit’s directions and collect samples from several spots in the bed for a reliable result. Mix them together, remove debris, and let the sample dry if needed before you test it.
Once you get the report, compare the numbers with your flower goals. If the soil’s too acidic or alkaline, you can adjust it before planting. If key nutrients are low, you’ll know exactly what to add.
This step saves time, reduces guesswork, and helps you build a stronger foundation for healthy blooms all season long.
Clear Weeds, Rocks, and Old Roots

Before you start planting, make sure to clear away any surface debris like leaves, sticks, and stones. This way, the soil will be open and ready for your new plants.
Next, pull up any weeds you spot, roots and all. You don’t want them competing with your flowers for nutrients and space.
After that, dig out any old roots left behind. They can crowd your new growth and make planting a lot harder than it needs to be.
Remove Surface Debris
Start by clearing the planting area so your flowers don’t have to compete with anything in the way. Use surface cleaning techniques to sweep away leaves, sticks, and loose litter. Then collect bigger pieces with debris removal tools like a hand rake, trowel, or gloved hands.
Work across the whole bed so nothing hides in corners or along edges. As you clean, lift out stones and old root fragments resting on top of the soil, since they can block even planting and make watering uneven.
If the surface feels packed with residue, go over it again until you see bare, workable soil. A tidy surface helps you spot problem spots fast and gives your flowers a cleaner start.
Pull Up Weeds
Now pull up any weeds you find so they don’t steal water, light, or nutrients from your flowers. Grip each plant low at the base and ease it out while the soil is loose.
Careful weed identification helps you remove the right plants before they spread. If you spot stubborn patches, use natural herbicides sparingly and follow the label directions.
As you work, pick out small rocks and other loose debris that could block roots or make planting harder. Rake the surface smooth so your flower bed looks clean and stays easy to plant.
Keep checking the area as you go, because tiny weeds can hide between clumps of soil. A tidy, weed-free bed gives your flowers a better start and helps them grow strong.
Dig Out Old Roots
After you’ve cleared the weeds, dig out any old roots left behind so they don’t grow back or get in the way of new plants. Use a trowel, spade, or hand fork to loosen the soil around each stubborn piece, then pull it out as completely as you can.
If a root snaps, follow it deeper and remove every section you find. These root removal techniques help keep the bed open and reduce competition for water and nutrients.
Pay attention to root system considerations, especially near tree roots or large shrubs, because you don’t want to damage nearby plants while you work. Once you’ve finished, rake the area smooth and check for hidden fragments.
A clean bed gives your flowers room to settle in, spread roots, and grow strong.
Loosen the Soil for Better Drainage

Now that you’ve cleared the bed, go ahead and break up any compacted soil so roots can spread easily. Loosening the ground helps water move through better and stops it from pooling around your flowers. If the soil feels heavy, try mixing in some organic matter—it’ll boost drainage and improve the soil’s structure.
Break Up Compacted Soil
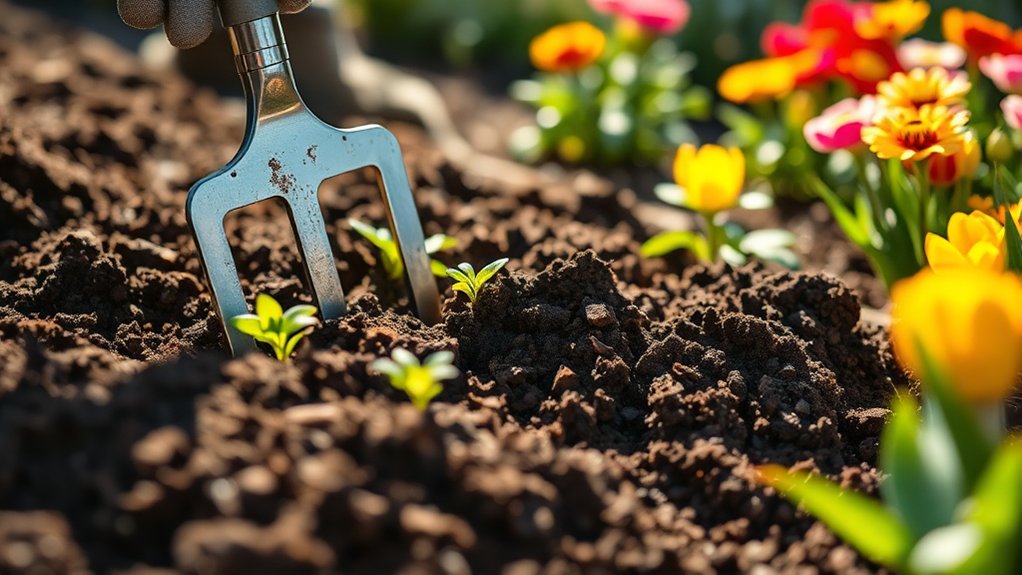
Start by breaking up compacted soil so water can move through it and roots can spread with ease. Use a garden fork, spade, or broadfork to work the ground when it’s slightly moist, not soggy. Push the tool in, rock it back, and lift to crack hard layers without turning the whole bed over.
These soil aeration techniques help you open tight spaces and improve the benefits of loosening for flower roots. Remove stones, old roots, and debris as you go, then crumble clods by hand. If you notice heavy foot traffic, avoid stepping on the bed again.
A loose, friable texture lets roots delve deeper and establish faster, giving your flowers a stronger start in the planting bed.
Improve Water Movement
To keep flower roots from sitting in soggy soil, loosen the bed so excess water can drain away instead of pooling at the surface. Use a garden fork or broadfork to lift and fracture the soil without turning it into mud.
Work in a grid, then gently shake the tines to open channels for water to move through. Focus on low spots where runoff collects, and rake the surface smooth so it doesn’t trap puddles.
These drainage techniques improve soil aeration, helping roots get the oxygen they need to grow strong. After watering or rain, check whether the bed absorbs moisture evenly.
If water still lingers, repeat light loosening in those areas. Good drainage keeps your flower bed healthier and easier to plant.
Add Organic Matter
Once the bed drains better, mix in organic matter to keep that loosened structure in place and give flower roots a healthier home. Spread 2 to 3 inches of compost over the soil, then work it into the top 6 to 8 inches with a fork or spade.
You’ll notice the compost benefits right away: it improves texture, feeds microbes, and helps sandy soil hold moisture while clay soil breaks apart more easily. If your bed still crusts over, top it with organic mulch after planting to protect the surface and slow compaction.
Don’t bury stems or crowns; keep amendments blended evenly so roots can move through the bed without stress. This simple step gives your flowers stronger growth, better drainage, and a lasting head start.
Mix in Compost and Organic Matter
Mix compost and other organic matter into the top 6 to 8 inches of soil to boost fertility, improve texture, and help it hold moisture without becoming soggy. You’ll see compost benefits right away: soil loosens, roots spread easier, and beneficial microbes get a better home.
Blend in finished compost, leaf mold, or well-rotted manure evenly, then rake and break up clumps so every planting spot gets the same help. Use this quick guide:
| Material | What it does | Best use |
|---|---|---|
| Compost | Feeds soil life | General beds |
| Leaf mold | Improves structure | Heavy soil |
| Manure | Adds richness | Established beds |
| Shredded leaves | Boosts organic matter | Annual prep |
| Straw | Lightens soil | Mulched beds |
When you mix thoroughly, you create a balanced seedbed that supports strong flower growth. Keep the layer even, and don’t bury fresh chunks. Your flowers will thank you with steadier starts and healthier roots.
Adjust Soil pH and Add Needed Nutrients
After enriching the soil, test its pH so you know whether your flowers can take in nutrients properly. Most blooms grow best when the soil sits near neutral, but your specific flowers may prefer slightly acidic or alkaline conditions.
Test soil pH after enriching it so your flowers can absorb nutrients and thrive.
If the pH is off, choose soil amendments that move it in the right direction. Add garden lime to raise acidic soil, or sulfur to lower alkaline soil, and work the material in as directed.
Then check whether your bed lacks key nutrients such as phosphorus, potassium, or nitrogen. Use a balanced fertilizer or targeted amendments only where needed, because too much can harm roots and reduce flowering.
Keep the nutrient balance steady by following package rates and watering well after application. Retest the soil after a few weeks if you made major changes, so you can confirm the pH and nutrients are ready for planting.
Level and Shape the Flower Bed
With the soil pH and nutrients in place, turn your attention to the bed’s shape. Use a rake to smooth the surface and remove dips, bumps, and clumps so your flower bed design looks clean and intentional.
Check the edges and decide how wide you want the planting area to be. If you’re making a raised bed, build up the soil elevation gradually and taper the sides for stability. For a flat bed, keep the top even so water and roots spread consistently.
Step back often and view the bed from different angles; this helps you spot uneven spots before you plant. You can also use a board or string line to guide the outline and keep the curves or straight lines balanced.
A well-leveled, well-shaped bed gives your flowers room to grow and makes future care much easier.
Water the Soil and Let It Settle
Give the newly shaped bed a thorough watering so the soil can settle around the roots and fill any remaining air pockets. You’ll want to moisten the bed deeply, not just dampen the surface, because even soil moisture helps the settling process and prepares a stable base for flowers.
| What to watch | Why it matters |
|---|---|
| Puddles | They show you’ve added too much water |
| Dry patches | They mean the moisture hasn’t reached evenly |
| Slight sinking | It tells you the soil is settling properly |
After watering, wait a day and check the bed again. If the soil has dropped, add a thin layer of mix and water lightly once more. Keep the surface evenly moist, but don’t soak it. This steady approach lets roots make firm contact with the soil, improves support, and reduces gaps that can dry out young plants.
Frequently Asked Questions
Which Flowers Grow Best in Sandy Soil?
Flowers that thrive in sandy soil include lavender, coreopsis, coneflowers, yarrow, daylilies, sedum, blanket flower, and dianthus. You’ll get the best results with drought-tolerant flower varieties that handle fast drainage and lean conditions.
Add compost to improve moisture retention, but don’t overdo it. Choose sun-loving plants, water them deeply at first, and you’ll help your garden establish strong roots in sandy soil without much fuss.
How Often Should I Fertilize Newly Planted Flowers?
You should fertilize newly planted flowers lightly, like seasoning a fresh meal, after they settle in. Wait about 2 to 4 weeks, then choose a balanced option based on the plant.
Use slow-release or liquid fertilizer types, and follow label rates closely. For application timing, feed during active growth, usually every 4 to 6 weeks, unless the package says otherwise.
Don’t overdo it; young roots can burn easily.
Can I Plant Flowers in Containers Instead of Beds?
Yes, you can plant flowers in containers instead of beds, and you’ll get lots of flexibility. Container gardening lets you move pots for sun, shade, or style, and it works well for many flower varieties, from petunias to geraniums.
You’ll need pots with drainage, quality potting mix, and regular watering because containers dry out faster. Choose the right size pot, and your flowers should thrive beautifully all season.
What Tools Do I Need for a Flower Garden?
You’ll need a few basics to make your flower garden bloom. Grab gloves, a trowel, a hand fork, pruners, a watering can or hose, and a rake; they’re your toolkit for shaping success.
Add soil testing supplies and graph paper or markers for garden layout, so you can plan wisely. If you’ve got larger beds, a spade and wheelbarrow help too.
Keep tools clean, and you’ll work faster and smarter.
How Do I Protect Flowers From Pests After Planting?
You can protect your flowers by checking them often and acting fast when you spot trouble. Use pest prevention like row covers, clean mulch, and companion plants to discourage bugs.
Spray neem oil or insecticidal soap for gentle organic solutions. Remove damaged leaves, weeds, and debris so pests can’t hide.
Water at the base, not the blooms, and keep your garden healthy, because strong flowers resist infestations better.
Conclusion
By the time you finish preparing your flower bed, you’ve done more than move dirt. You’ve built a welcoming home for roots. I once skipped this step and watched half my seedlings struggle, like fish dropped into a shallow puddle.
When I finally tested, amended, and watered the soil, blooms returned fast. Healthy soil gives your flowers the best start. A little effort now pays off with brighter color, stronger growth, and a garden that truly thrives.
Preparing soil for planting flowers is key to achieving this success.