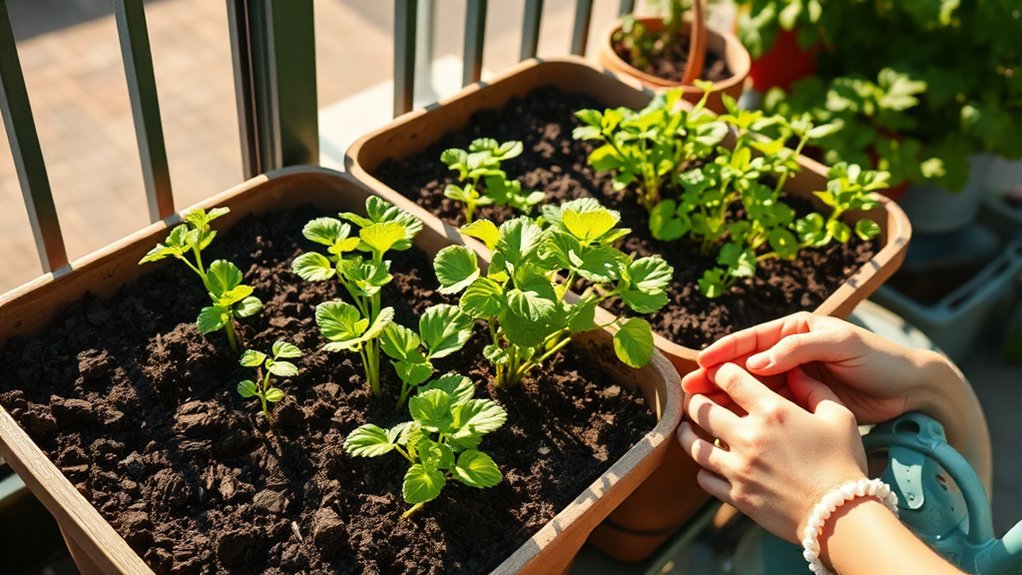
How to Grow Potatoes in Containers in 7 Simple Steps
Growing potatoes in containers can seem tricky if you don’t have much space or experience. You’re not alone—many people struggle to get started or end up with disappointing results.
But with the right approach, it’s totally possible to enjoy fresh, homegrown potatoes even on a small balcony or patio.
Choose a 15 to 20 gallon container with drainage holes and fill it halfway with a loose, well-draining potting mix.
Start with certified seed potatoes, chit them, and cut larger tubers into pieces with 1 to 2 eyes.
Plant them 6 inches apart and cover with 3 to 4 inches of soil.
As shoots grow, keep hilling, watering, and feeding regularly.
Harvest when vines yellow, and you’ll pick up a few extra tricks along the way.
Key Takeaways
- Choose a 15 to 20 gallon container with at least 18 inches depth. Make sure it has drainage holes and is made of food-safe material.
- Use certified seed potatoes. Chit them, and cut large tubers into pieces with 1 to 2 eyes each.
- Fill the container halfway with well-draining potting mix. Plant seed potatoes 6 inches apart, then cover with 3 to 4 inches of soil.
- Hill soil around growing stems, keep moisture even, and inspect regularly for pests or leaning plants.
- Feed the plants every 2 to 3 weeks. Harvest when the plants yellow and die back, then store potatoes in a cool, dark place.
Choose the Best Potato Container

Start with a container that gives your potatoes room to grow, at least 15 to 20 gallons and about 18 inches deep. You’ll give your tubers space to expand and harvest more easily later. Choose sturdy container materials like food-safe plastic, fabric grow bags, wood, or metal with drainage holes. Avoid thin pots that crack, tip, or overheat in full sun. Dark containers warm the soil faster, while lighter ones help keep roots cooler in hot climates.
When comparing container sizes, bigger usually works better, but don’t go so large that soil stays soggy after watering. A wide, deep container supports healthy root growth and steadier moisture. If you want mobility, pick lightweight options with handles or wheels. If you need durability, select thick plastic or rot-resistant wood. Whatever you choose, make sure excess water can drain freely because potatoes hate wet feet.
Pick Seed Potatoes and Prep Them
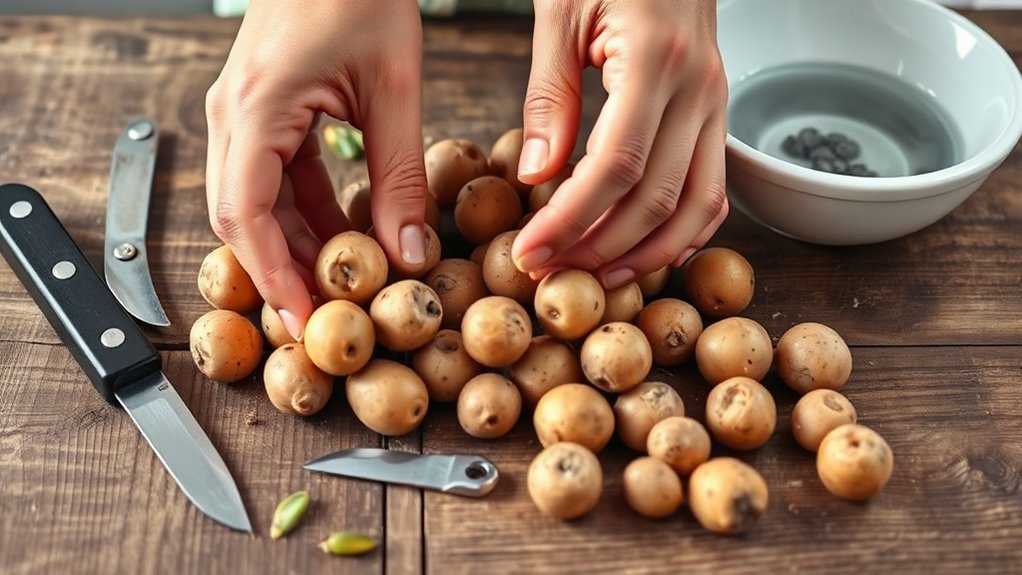
Start with certified seed potatoes because they’re healthier and less likely to carry disease. Before planting, let them chit—that means leaving them in a cool, bright spot until small sprouts form.
If your tubers are large, go ahead and cut them into pieces, making sure each piece has at least one or two eyes. Then, let the cut surfaces dry before you plant them. This helps prevent rot and gives your potatoes a better chance to grow.
Choose Certified Seed Potatoes
| Type | Best for | Why it helps |
|---|---|---|
| Early | Small pots | Sets tubers fast |
| Midseason | Balanced growth | Suits most containers |
| Late | Large containers | Can produce bigger harvests |
Buy firm tubers with clean skins and visible eyes. Skip any that feel soft, shriveled, or spotted. Match the variety to your container size because vigorous plants need more root room and water.
If you’re choosing between options, favor ones labeled for blight tolerance and dependable performance. Good selection now saves space later and gives you healthier plants from the start.
Chit Potatoes Before Planting
Once you’ve picked healthy seed potatoes, give them a head start by chitting them before planting. Place them in a cool, bright spot with indirect light so short, sturdy sprouts form. This process helps you harvest sooner and can improve early growth in containers.
Use simple chitting methods: set tubers in an egg carton or tray with the eyes facing up, then leave them undisturbed for three to four weeks. Keep the ideal temperature around 45 to 55°F, and avoid warm, dark cupboards that trigger weak, leggy shoots. Turn them gently if needed to expose all sides to light.
When sprouts are firm and about 1/2 inch long, you’re ready to plant. Handle the tubers carefully so the sprouts stay intact and your container crop gets off to a strong start.
Cut Large Tubers Properly
If your seed potatoes are large, cut them into smaller pieces before planting so each piece has at least one or two healthy eyes. Choose firm, disease-free tubers and use smart tuber selection techniques to avoid soft spots, bruises, or green areas.
Slice them with a clean knife, and make sure each chunk is about the size of a golf ball. Good cutting methods help you limit rot and give every piece a strong start.
After cutting, let the pieces dry and heal for a day or two in a cool, airy spot. This simple curing step seals the cuts and reduces disease risk.
When the surfaces feel dry, you’re ready to plant the pieces in your container soil with confidence and care.
Fill the Container With Well-Draining Potting Mix
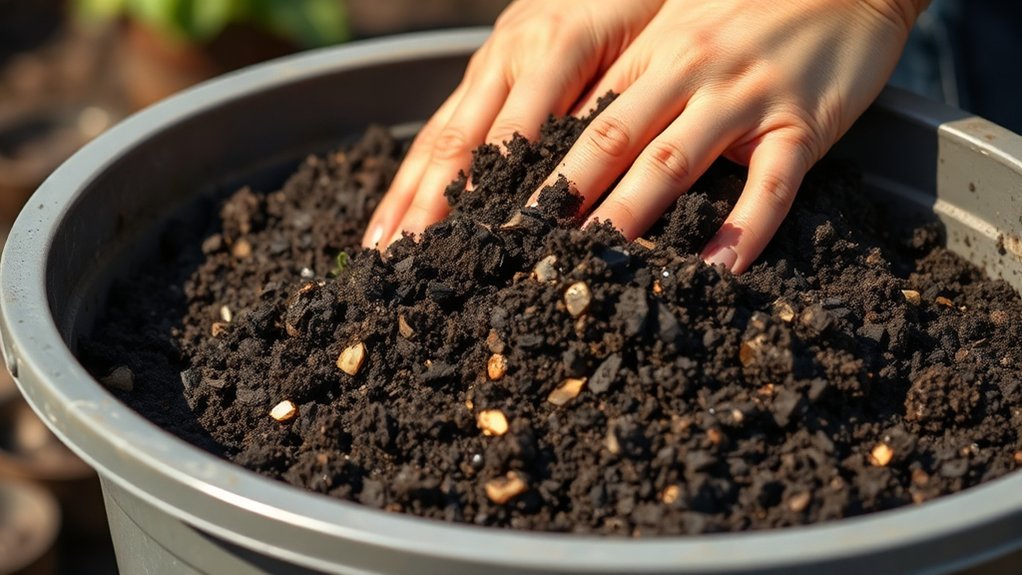
Pour your container with a loose, well-draining potting mix rather than garden soil, which can compact and hold too much water. You want an airy texture so roots can breathe and excess moisture can escape.
Good potting mix types include peat-based blends, coco coir mixes, and compost-enriched formulas; each supports healthy growth when paired with the right drainage. Choose a mix labeled for containers, and avoid heavy topsoil or dense amendments that slow water flow.
| Mix type | Why it works |
|---|---|
| Peat-based | Light and fluffy |
| Coco coir | Retains moisture without sogginess |
| Compost blend | Adds nutrients and structure |
| Perlite-added | Boosts drainage and air pockets |
Fill the container about one-third to halfway, leaving room for later mounding. Lightly shake the pot to settle the mix, but don’t pack it down.
A loose, even layer sets up your potatoes for steady growth and helps prevent waterlogged roots.
Plant Potatoes in the Container
Place your seed potatoes on top of the potting mix with the sprouts, or “eyes,” facing up. Space them about 6 inches apart if your container is wide enough. For most container sizes, use two to four seed pieces so each plant has room to form tubers.
If you’re growing different potato varieties, check their growth habits first. Compact early types often suit smaller pots, while larger containers work better for prolific or late-season varieties.
Cover the seed potatoes with about 3 to 4 inches of mix. This is enough to keep them moist and dark without burying them too deeply. Water lightly after planting so the soil settles around the seed pieces, but don’t soak it.
Set the container where it gets full sun and good air circulation. Once planted, you’re ready to let the potatoes start growing strong roots and shoots.
Hill Potatoes as They Grow
As your potato plants grow, go ahead and add soil in small mounds around the stems to keep the tubers covered. You’ll want to do this regularly to cover new growth, so the green tops stay supported and those developing potatoes stay out of the light. Plus, this steady hilling helps keep the plants stable as they get taller.
Building Soil Mounds
Once your potato plants reach about 6 to 8 inches tall, add more potting mix around the stems, leaving the top few leaves exposed. Use loose, fertile soil types that drain well, because compacted mix can slow tuber growth.
Check your container depth before you hill; you need enough room to keep adding soil without crowding the roots. Gently mound the mix so the stems stay supported, and water lightly after each addition to settle it in place.
Repeat this process every time new growth appears, building a deeper planting zone as the season moves on. Keep the soil evenly moist, but don’t soak it.
With steady hilling, you encourage stronger stems, better rooting, and more space for potatoes to form underground.
Covering New Growth
When new potato shoots poke through the surface, cover the lower stems with more potting mix, leaving the top leaves exposed. You’ll repeat this hilling step as new growth appears, adding just enough mix to bury pale stems without smothering the plant.
This encourages more tubers to form along the covered section and helps protect tender shoots from light exposure. Check the container every few days, especially after warm weather or watering, because potato stems can stretch fast.
Keep the soil loose so roots can spread easily, and stop adding mix once the container is nearly full. After that, let the plant grow freely above the rim while you keep the soil evenly moist and watch for fresh leaves reaching upward.
Maintaining Plant Support
Keep hilling potatoes as they grow so the stems stay supported and the tubers stay protected from light. Add loose mix around the base every time shoots rise 4 to 6 inches, then leave a few leaves exposed.
If your container is tall or exposed to wind, use support stakes to steady the plants and improve container stability. Check the soil surface during growth monitoring so you catch leaning stems, dry patches, or exposed tubers early.
Keep watering even, because stress can weaken plant health and reduce yields. As you hill, inspect for insects or damaged leaves and adjust pest management right away.
Feed lightly with a balanced fertilizer, since nutrient balance helps strong vines and steady tuber formation without forcing weak, leafy growth.
Water and Feed Container Potatoes
Water container potatoes thoroughly so the soil stays evenly moist, but never soggy, because containers dry out faster than garden beds. Check moisture daily by inserting a finger an inch below the surface; if it feels dry, water deeply until excess drains from the bottom. Good watering techniques help roots develop evenly and prevent stress during tuber formation.
Feed with a balanced liquid fertilizer once shoots are established, then repeat every two to three weeks, following label rates. Choose a formula with steady nitrogen, phosphorus, and potassium so you support leafy growth without tipping the nutrient balance toward too much foliage.
If leaves pale or growth slows, increase feeding slightly, but don’t overdo it since excess fertilizer can reduce tuber quality. Always water after feeding to move nutrients through the mix. Use lukewarm water, avoid splashing foliage, and adjust your routine during hot, windy weather when containers lose moisture quickly.
Harvest Your Potatoes
Harvest your potatoes once the plants yellow and begin to die back, usually about 2 to 4 weeks after flowering. Check harvest timing by digging a few fingers into the mix and lifting a small sample tuber. For new potatoes, you can start sooner; for larger storage potatoes, wait until the tops have fully withered. Different potato varieties mature at different rates, so read your seed tag and adjust your schedule.
Tip the container onto a tarp or into a wheelbarrow. Pull tubers out gently to avoid cuts and bruises. Let skins dry for a few hours before storing. Save the best small potatoes for seed next season.
Harvest on a dry day, then brush off loose soil and sort damaged potatoes first. Store healthy tubers in a cool, dark, ventilated spot, and enjoy the freshest ones soon after digging.
Frequently Asked Questions
How Many Potatoes Can One Container Produce?
A single container can produce about 5 to 10 pounds of potatoes, depending on container size, variety, and care. You’ll usually harvest 4 to 12 tubers from one plant, sometimes more from larger pots.
If you manage watering, feeding, and harvest timing well, you can boost your yield. Bigger containers give roots more room, so you’ll often get more potatoes than from small, cramped planters.
Can I Grow Potatoes Indoors on a Sunny Windowsill?
Yes, you absolutely can grow potatoes indoors on a sunny windowsill, and it can feel like you’ve built a tiny underground empire. You’ll need strong light, a deep container, and a container size of at least 10 gallons for best results.
Use indoor gardening-friendly soil, keep it evenly moist, and add more mix as stems grow. You won’t harvest a mountain, but you can still get a satisfying crop.
Which Potato Varieties Work Best for Container Gardening?
You’ll do best with early, compact varieties like Yukon Gold, Red Norland, Caribe, and fingerlings because they set tubers quickly and stay manageable in pots. Focus on seed potato selection from disease-free stock, and match it to your container size: use at least a 10-gallon pot for reliable yields.
You can also try russets, but they need deeper containers and more room to develop well.
Do Potato Plants Need Full Sun All Day?
Not quite; you don’t need full sun all day, but you should give your potato sunlight at least 6 hours daily for strong growth and tuber development.
Choose container placement where your plants get morning sun and some afternoon shade if your climate runs hot. In cooler areas, full sun works great.
Keep the container in a spot with good airflow, and you’ll help your potatoes thrive without stressing them out.
How Do I Store Harvested Potatoes for Later Use?
You should cure your potatoes first, then store them in a cool, dark, well-ventilated place. Keep them in breathable bags or boxes, not plastic, and avoid washing them until you’re ready to use them.
Aim for ideal temperatures around 45 to 50°F, and check often for soft spots or sprouts. Don’t let them freeze or sit in light, because that’ll ruin flavor and texture fast.
Conclusion
You’ve got the tools to turn a simple container into a flourishing potato patch. With the right pot, sprouted seed potatoes, rich soil, and regular hilling, watering, and feeding, you’ll soon watch leafy tops rise like a green crown.
Then comes the best part: digging into the dark, crumbly soil and uncovering your homegrown harvest. Follow these steps, and you’ll enjoy a bountiful, beautiful batch of potatoes from your own backyard.
By growing potatoes in containers, you can easily create your own fresh supply right at home.