How to Make Homemade Plant Fertilizer in 7 Easy Steps
If you’ve ever struggled to find the perfect fertilizer for your plants or felt overwhelmed by all the options out there, you’re not alone. Many people want a natural, budget-friendly way to nourish their greenery without harsh chemicals.
Luckily, making homemade plant fertilizer is easier than you might think—and it lets you control exactly what goes into your soil.
You can make homemade plant fertilizer in seven easy steps with a clean container, spoon, measuring cup, strainer, and gloves. Start with compost, fruit and veggie scraps, coffee grounds, eggshells, tea leaves, and dry browns like paper or leaves.
Chop everything small, steep it in water, then strain if needed. Dilute before watering soil or misting leaves.
Feed more often in spring and summer, store leftovers safely, and you’ll learn the best fixes too.
Key Takeaways
- Gather a clean container, spoon, measuring cup, strainer, and gloves before mixing homemade fertilizer.
- Use compost, kitchen scraps, dry browns, crushed eggshells, wood ash, or rock dust for balanced nutrients.
- Chop scraps finely, steep them in water, then strain for a smooth liquid fertilizer.
- Apply diluted fertilizer as a soil drench or light foliar spray in the morning or late afternoon.
- Store leftovers in sealed, labeled containers and watch for cloudiness, mold, or bad odors.
What You Need for Homemade Plant Fertilizer
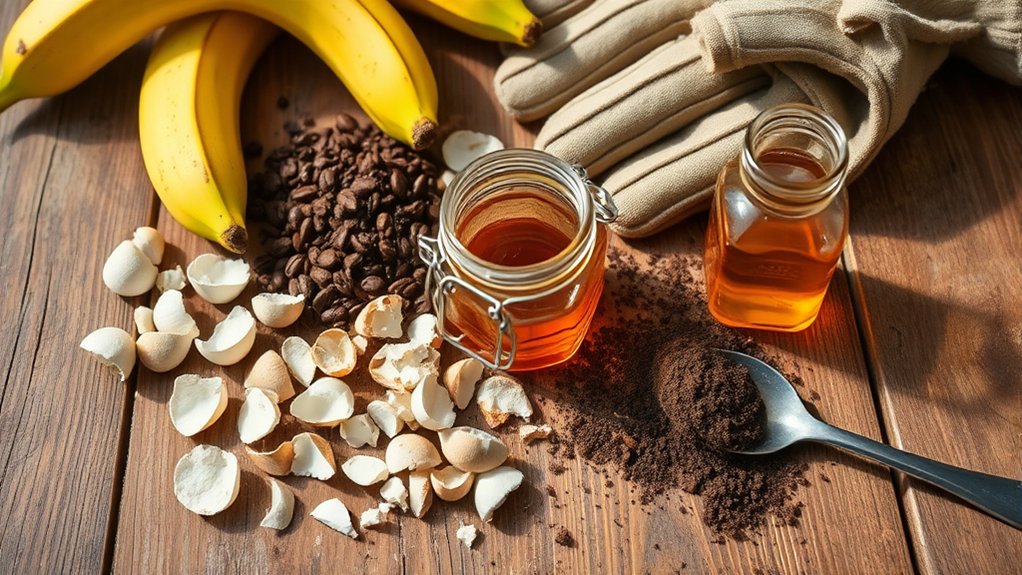
To make homemade plant fertilizer, you only need a few simple ingredients and tools you probably already have at home. You’ll want a clean container, a spoon for mixing, water, and a way to strain or pour the liquid later.
Keep a measuring cup nearby so you can stay consistent and protect nutrient balance in every batch. You can also gather basic kitchen scraps, garden clippings, or other organic sources that break down easily and feed plants naturally.
A bucket works well if you plan to mix larger amounts, while a jar suits small test batches. If you like, label your container so you don’t confuse it with anything else. Gloves can help keep your hands clean, and a mesh sieve makes straining easier.
With these simple items ready, you’re set to prepare fertilizer efficiently and safely without buying special equipment.
Choose the Best Ingredients

You can start with compost and kitchen scraps because they add rich organic matter and nutrients to your fertilizer. Then, mix in natural mineral additions to give your plants extra support with essentials like calcium, potassium, and trace elements. Picking the right ingredients helps you feed your plants safely and effectively.
Compost And Kitchen Scraps
Compost is one of the easiest homemade fertilizers to make, but the best results start with the right kitchen scraps. You can turn fruit and vegetable peels, coffee grounds, eggshells, tea leaves, and wilted greens into rich compost that feeds your soil.
These scraps break down quickly, helping you recycle waste while improving texture, moisture retention, and overall compost benefits. For the best mix, combine your kitchen scraps with dry browns like shredded paper or leaves so the pile stays balanced and active.
Chop larger pieces before adding them, and keep out oily foods, meat, and dairy, which can slow decomposition and attract pests. When you build this habit, you create a steady source of natural plant food.
Natural Mineral Additions
Once you’ve built a solid compost base, natural mineral additions can round out the feed your plants receive. You can fine-tune nutrient balance by choosing simple mineral sources that match your soil needs. Start small, test often, and avoid overloading beds with extras.
- Crushed eggshells: You add calcium slowly, which helps support strong cell walls and healthier growth.
- Wood ash: Use sparingly for potassium and a slight pH boost, especially in acidic soil.
- Rock dust: Sprinkle a thin layer to supply trace minerals that compost may miss.
Mix these materials into the topsoil or compost pile, then water well. You’ll give your plants a steadier, more complete diet without relying on synthetic products.
How to Make Homemade Plant Fertilizer

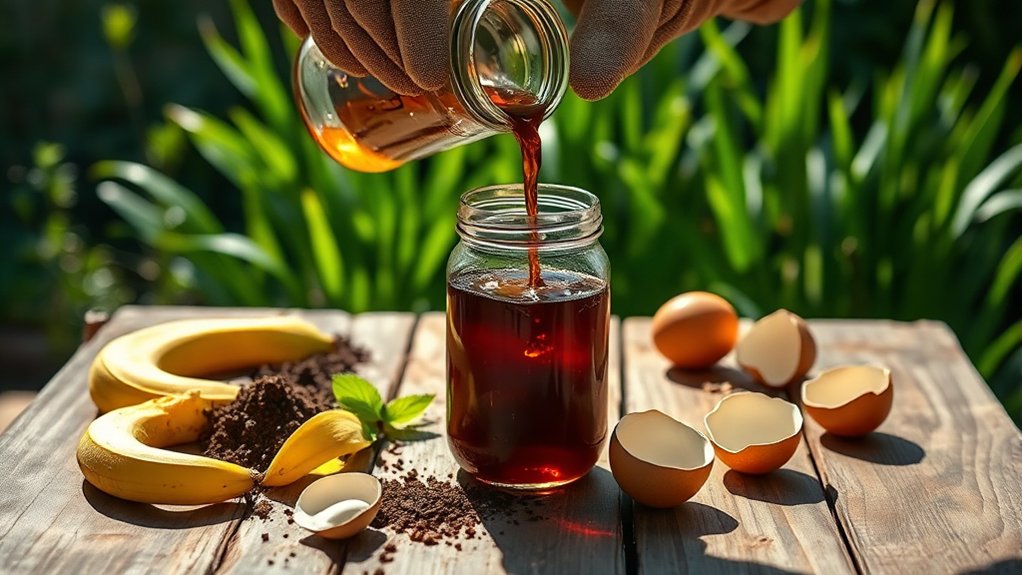
Mixing your own plant fertilizer is easier than it sounds. It can turn common kitchen scraps into a useful boost for your garden. You can build simple homemade recipes from coffee grounds, banana peels, eggshells, and compost.
Aim for nutrient balance by blending nitrogen-rich, potassium-rich, and calcium-rich ingredients in small batches. Chop scraps finely, steep them in water, and let them release their goodness before you use them.
| Ingredient | Benefit |
|---|---|
| Coffee grounds | Adds nitrogen |
| Banana peels | Supports flowering |
| Crushed eggshells | Supplies calcium |
Stir your mix, then strain out solids if needed. Keep each batch fresh, label what you make, and note how your plants respond. When you rotate ingredients, you help your soil stay active and your plants get steady support without relying on store-bought products.
How to Dilute It Safely?
Homemade fertilizer works best when you dilute it, so your plants get a gentle boost instead of a harsh dose. Start with small amounts and follow trusted dilution ratios for each ingredient. If you’re unsure, use a weaker mix first; you can always increase strength later. This helps you avoid root burn, leaf spotting, and nutrient overload.
- Measure carefully: use a spoon, cup, or marked container so you don’t guess.
- Mix with clean water: stir until the liquid looks even and smooth.
- Test the blend: try it on one plant first and wait a few days.
Keep safety precautions in mind while you work. Wear gloves if the fertilizer smells strong or contains food scraps, and wash your hands afterward. Store leftovers in a labeled container, away from heat and kids. When you dilute it properly, you protect your plants and make every batch last longer.
How to Apply It to Your Plants
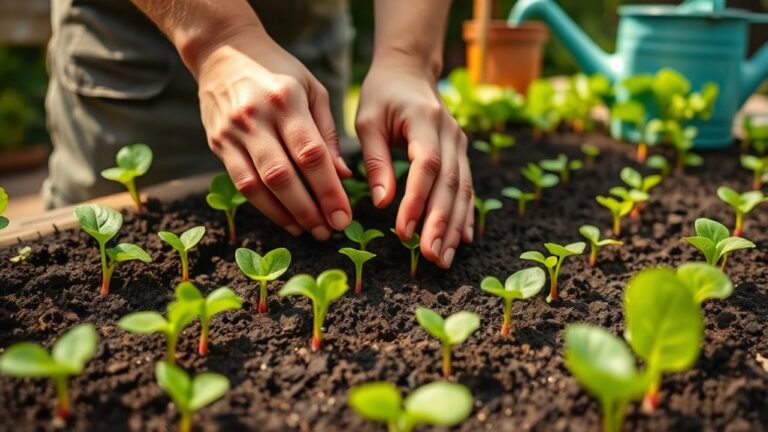
You can apply homemade plant fertilizer as a soil drench by pouring it around the base of your plants. This way, the roots get to absorb the nutrients directly. If you’d rather go with a foliar spray, just mist the leaves lightly—try not to soak them. It’s best to do this in the early morning or evening so your plants can take it in without any stress.
Soil Drench Methods
When you use a soil drench, pour the fertilizer solution slowly at the base of the plant so it soaks into the root zone instead of running off the surface. This method helps you feed roots directly, supporting soil health and keeping nutrient balance steady.
Water the soil first if it’s dry, then apply the mix evenly around the stem, not just in one spot. Let the liquid absorb fully before adding more.
- Use a diluted solution to avoid burning roots.
- Apply after watering for better uptake.
- Repeat on a regular schedule based on plant needs.
You’ll get stronger growth when you match the drench strength to the plant’s size and growth stage.
Foliar Spray Tips
A light foliar spray lets your plants absorb nutrients through their leaves, so aim for a fine mist that coats both the top and undersides without dripping. Hold the sprayer 8 to 12 inches away and move it steadily across each plant for even coverage.
Use gentle spray techniques so you don’t bruise tender leaves or waste solution. Stir your homemade mix well before each use, then strain it to prevent nozzle clogs.
Choose healthy, clean foliage, since dust and residue can block uptake and reduce foliar benefits. Spray until the leaves look evenly damp, not soaked. Wipe any excess from stems or pots.
Check your plants afterward for good response, and adjust dilution if the leaves seem stressed or discolored.
Application Timing
Timing matters as much as the mix itself because plants take up homemade fertilizer best when they’re actively growing. Feed in the early morning or late afternoon so roots can absorb nutrients before heat stresses the plant.
During spring and summer, increase application frequency for fast-growing vegetables, herbs, and flowering plants. In fall and winter, cut back with seasonal adjustments since growth slows and excess fertilizer can build up in the soil.
- Water first if the soil feels dry.
- Apply a diluted dose around the root zone.
- Recheck growth after one to two weeks.
If leaves stay pale or growth stalls, adjust your schedule, not just the recipe. Consistent timing helps you avoid waste and supports stronger, healthier plants.
How Often to Fertilize Different Plants?
How often you fertilize depends on the plant, its growth stage, and the time of year. Fast-growing vegetables, annual flowers, and houseplants in active growth usually need feeding every 2 to 4 weeks with diluted water soluble nutrients.
Slow growers, succulents, and established perennials often do better with less frequent feeding, maybe once a month or only a few times a season. For lawn grasses, you can follow the label schedule and match it to spring and early summer growth.
Slow growers and succulents need less frequent feeding, while lawns benefit from spring and early summer fertilizing.
Young seedlings and newly transplanted plants need gentle, light feeding after they settle in. During fall and winter, you should cut back because growth slows and nutrient release matters less.
Watch the leaves, stems, and soil response; if growth looks steady and color stays healthy, you’re probably on the right schedule. Always adjust your routine to the plant’s needs, not a fixed calendar.
How to Store Leftover Fertilizer and Fix Problems
Once you’ve set a feeding routine that suits each plant, the next step is keeping leftover fertilizer safe and knowing how to fix issues before they spread. Store extra mix in clean, sealed storage containers and label the date, ingredients, and dilution rate. Keep them in a cool, dark spot to extend fertilizer shelf life and limit spoilage.
If you notice cloudiness, mold, or an off smell, discard it fast; that signals potential contamination. For odor management, use airtight lids and rinse containers after each use.
- Check before storing: remove debris and strain solids.
- Fix weak batches: add more nutrients only in small amounts.
- Troubleshoot damage: flush soil with water if leaves brown or curl.
You’ll protect roots, save money, and keep your homemade fertilizer working as planned.
Frequently Asked Questions
Can Homemade Fertilizer Attract Pests Indoors?
Yes, homemade fertilizer can attract pests indoors if you use wet scraps, sugary ingredients, or overapply it. You can lower the risk with pest prevention habits like using well-composted materials, sealing containers, and cleaning spills right away.
In indoor gardening, you should avoid letting fertilizer sit exposed because flies, ants, and mold may show up fast. Keep mixtures dry, balanced, and stored properly to protect your plants and home.
Is Homemade Fertilizer Safe for Seedlings?
Usually, you can use homemade fertilizer for seedlings if you keep it very mild. You want to protect delicate roots and support steady seedling growth, so avoid strong mixes that can burn tender plants.
Think of a soft spring drizzle, not a storm. Aim for nutrient balance, and test it in tiny amounts first. If your blend smells sour or looks thick, don’t use it yet.
Which Plants Should Never Get Homemade Fertilizer?
You shouldn’t give homemade fertilizer to seedlings, cacti, succulents, orchids, carnivorous plants, or stressed potted plants. You also want to skip delicate indoor plants that can burn easily, like African violets, unless you know the mix is very mild.
In your herb garden, avoid feeding young basil or parsley too strongly. If a plant already looks sick, thirsty, or root-bound, wait and let it recover first.
Can I Combine Homemade Fertilizer With Compost Tea?
Yes, you can combine them, but you should do it lightly. You’ll pair a homemade nutrient blend with compost tea to boost microbial life and feed roots, yet too much at once can overwhelm plants.
Think of rich darkness beside bright green growth: both can help, but balance matters. Use diluted amounts, test on a small area first, and watch for the organic matter benefits without overfeeding your plants.
How Can I Tell if Plants Are Overfertilized?
You can tell your plants are overfertilized if you spot nutrient burn, like brown, crispy leaf edges or tips. You’ll often see yellowing leaves, wilting, stunted growth, or a white crust on the soil surface.
If you’ve been feeding often, flush the soil with water and pause fertilizing. Check roots too; if they look dark or mushy, excess nutrients may have damaged them and stressed the plant.
Conclusion
Now you’ve got everything you need to make homemade plant fertilizer with confidence. By choosing the right ingredients, mixing them carefully, and diluting them safely, you’re giving your plants a healthy boost without the guesswork.
Feed them on the right schedule, store leftovers properly, and fix issues before they spread. With a little care, your garden won’t just grow; it’ll thrive like a green fireworks show.
Keep it simple, stay consistent, and watch your plants thank you for the homemade plant fertilizer.