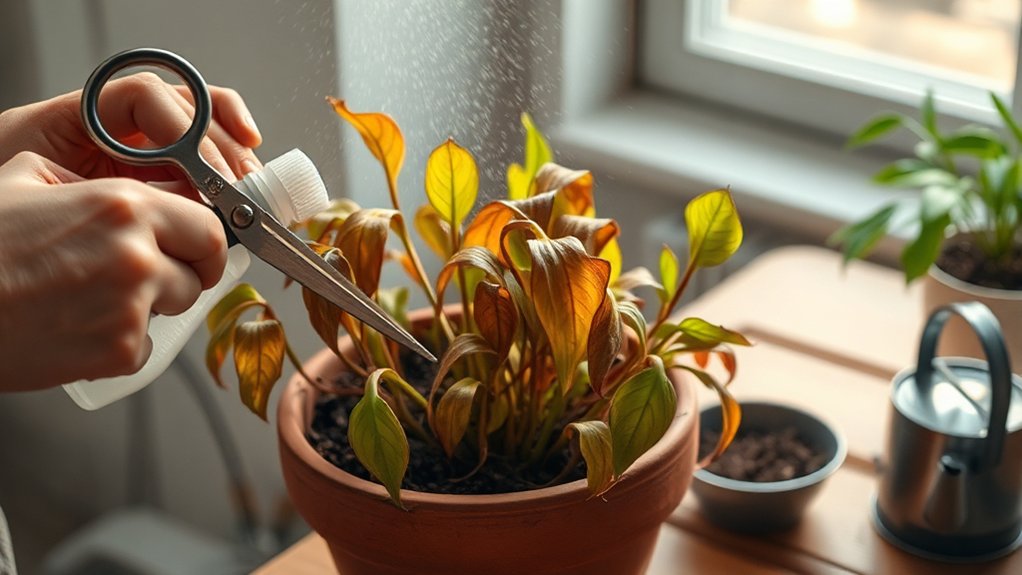
How to Revive a Dying Houseplant in 7 Steps
Struggling to keep your houseplants alive? You’re not alone. Many people find it challenging to revive a dying houseplant, especially when they’re unsure what’s going wrong. How to Revive a Dying Houseplant.
Whether it’s drooping leaves, discoloration, or slow growth, it can be frustrating watching your green friend struggle. The good news is, with the right steps and care, you can bring your plant back to life.
Check your houseplant for warning signs like yellowing, browning, drooping, spots, or curling leaves, then figure out whether the problem is overwatering, underwatering, pests, nutrient issues, or too much or too little light.
Prune dead leaves and stems with clean tools, fix watering and soil problems, and repot if roots are damaged.
Then improve light and humidity, and keep a closer eye on care so you can help it bounce back and stay healthy.
Key Takeaways
- Inspect leaves, stems, and soil for yellowing, drooping, spots, pests, or other sudden warning signs.
- Diagnose the cause by checking soil moisture, light levels, nutrient needs, and pest damage one issue at a time.
- Prune dead or severely damaged leaves and stems with clean, sharp tools to protect healthy growth.
- Correct watering and soil problems by letting soggy soil dry or watering when the top inch feels dry.
- Improve light and humidity by moving the plant to suitable light, rotating it, and raising humidity gently.
Check the Houseplant’s Warning Signs
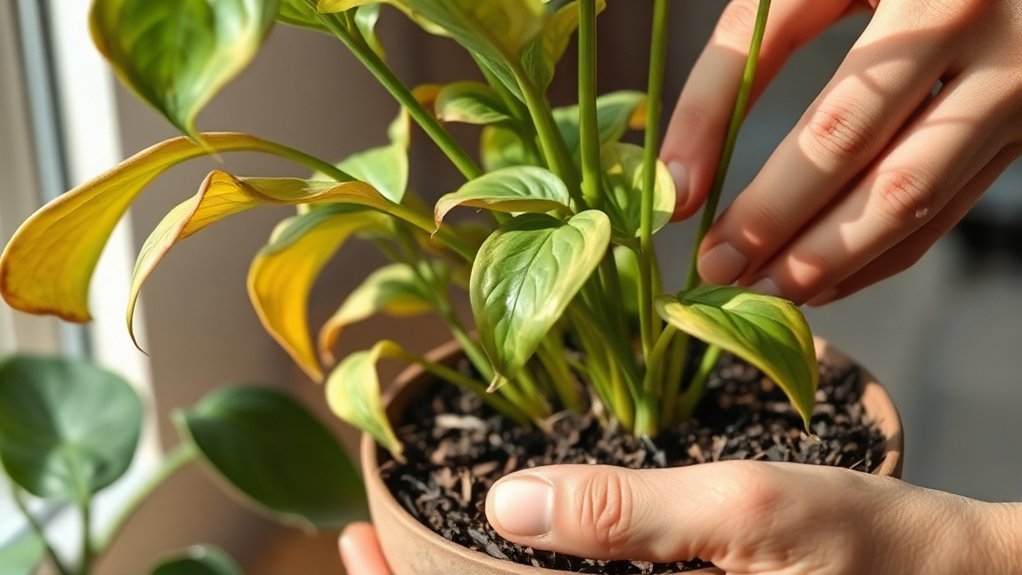
Before you try to save a struggling plant, check for the warning signs that tell you what’s going wrong. Look closely at the leaves, stems, and soil so you can spot trouble early. Yellowing, browning, drooping, curling, or crisp edges are common symptoms that often point to plant stress.
You might also see slowed growth, leaf drop, spots, or a sticky or dusty surface. If the plant looks limp at the end of the day, or if new growth appears small and weak, it’s telling you something’s off. Don’t ignore a sudden change, even if the plant looked fine last week.
Compare the healthy parts with the damaged ones, and note where the symptoms show up first. That pattern can help you narrow down the issue and respond faster. When you understand the warning signs, you can act with more confidence and avoid making the problem worse.
Figure Out What’s Wrong With Your Houseplant

Once you’ve spotted the warning signs, the next step is figuring out what’s causing them. Start with the basics: check the soil, light, water, and roots. If the soil stays soggy, you may be overwatering or dealing with poor drainage. If it’s bone dry, your plant could be underwatered.
Then look at the leaves closely for spots, webbing, sticky residue, or tiny insects. A quick pest inspection can reveal aphids, spider mites, or fungus gnats before they spread. Also, consider whether the plant’s growth has slowed or the older leaves are yellowing evenly, which can point to a nutrient deficiency.
Move the plant if it’s getting too much direct sun or not enough light. Don’t guess—match the symptoms to one likely problem at a time. Once you identify the cause, you can treat it with confidence and avoid making the stress worse.
Prune Dead Leaves and Stems
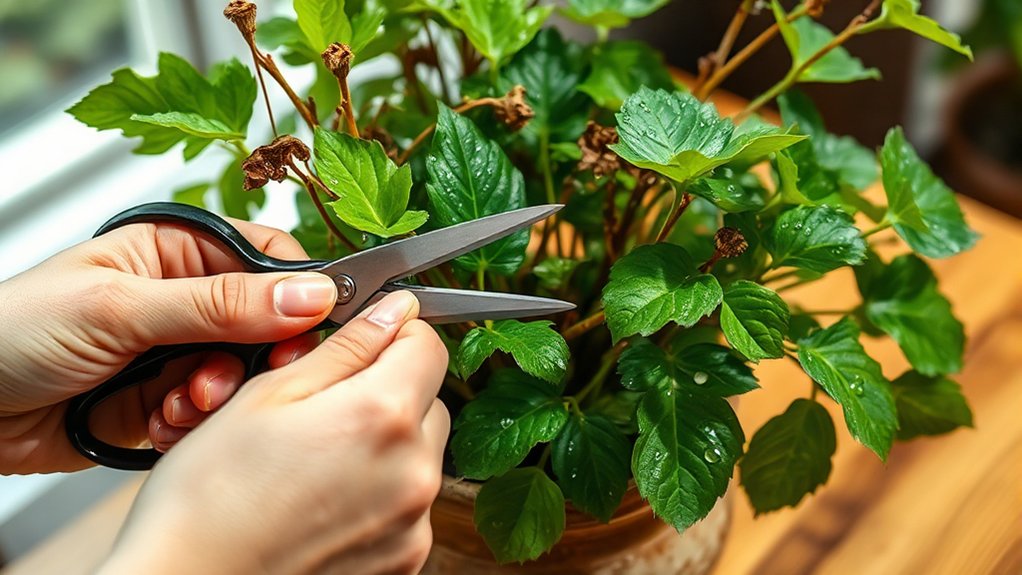
Start by trimming away any leaves, stems, or flowers that are completely dead or badly damaged. Use clean, sharp scissors or pruners so you don’t crush healthy tissue, and cut just above a node or at the base of the dead stem. This simple step improves leaf care by stopping the plant from wasting energy on parts that can’t recover.
It also lets you see the plant’s shape more clearly, so you can judge where it needs support next. As you work, follow careful pruning techniques: make small, deliberate cuts, and remove only what’s clearly beyond saving.
If a stem still has healthy green sections, leave them in place. Check for yellowing leaves, brittle tips, and spent blooms, then remove them one by one. Keep your tools sanitized between cuts if the plant looks diseased.
Fix Watering and Soil Problems
If your houseplant is fading, the problem is often too much or too little water, or soil that no longer drains well. Check the soil with your finger; if the top inch feels dry, water slowly until excess drains out.
If it stays soggy, pause watering and let the pot dry a bit. Adjust watering frequency to match the plant’s light, temperature, and season, since thirsty conditions change fast.
Pause watering and let the pot dry a bit; match frequency to light, temperature, and season.
Use room-temperature water, and never leave the pot sitting in runoff. When you water, aim for even soil moisture instead of alternating drought and flood.
If the mix has crusted, compacted, or smells stale, loosen the top layer so air can move through it. You can also scrape away mineral buildup on the surface.
Keep notes on how quickly the soil dries so you can fine-tune care. Consistent, careful watering helps your plant recover and keeps future stress from building.
Repot a Houseplant With Damaged Roots
First, gently take the plant out of its pot and have a good look at the roots. Check for any rot, mushy spots, or broken sections. If you find any damaged roots, go ahead and trim them away. Then, repot your plant using fresh potting mix that drains well. This gives your plant a clean start and a much better chance to bounce back.
Assess Root Damage
Gently slip the plant from its pot and inspect the roots to see how far the damage goes. During this root inspection, look for firm, pale roots and trim away anything black, mushy, or brittle with clean scissors.
Healthy roots support root health, so you’ll want to keep as much viable tissue as you can. If only a few roots are affected, your plant may recover quickly. If most are damaged, expect a slower rebound and handle it carefully.
Check whether the root ball still holds together or falls apart in your hands. A loose, collapsing mass often means severe stress. Don’t tug hard; instead, tease roots apart gently so you can judge the damage accurately before you move on to the next step.
Select Fresh Potting Mix
Once you’ve trimmed away the damaged roots, give the plant a fresh start with new potting mix. Choose a light, sterile blend that drains fast and still holds enough moisture for recovery. Check the soil composition so it matches your plant’s needs, then loosen compacted clumps before you fill the pot. Good potting techniques help roots spread without sitting in soggy pockets.
- Fresh, crumbly mix in your hands
- Clean pot with drainage holes
- Airy perlite flecks in dark soil
- Moist, not muddy, texture
- Roots settling into a snug space
Tuck the plant in gently, add mix around the base, and water lightly to settle everything. Avoid fertilizer for now; your plant needs calm conditions, not extra stress.
Improve Light and Humidity
Light is one of the fastest ways to help a struggling houseplant bounce back, so move it to a spot that matches its needs: bright indirect light for most plants, lower light for shade lovers, and a sunnier window for those that crave it. Watch how the leaves react over a few days, and rotate the pot so all sides get even natural light.
| Plant type | Best light | Humidity |
|---|---|---|
| Pothos | Bright indirect | Moderate |
| Fern | Filtered light | High |
| Snake plant | Low to medium | Low |
If your air feels dry, raise humidity levels by grouping plants together or placing a tray of water nearby. You can also mist lightly, but don’t soak the foliage. Keep curtains open, wipe dusty leaves, and avoid harsh midday rays that scorch tender tissue. Small adjustments often make the biggest difference.
Prevent Future Decline
To keep your houseplant from slipping back into decline, build a simple care routine and stick to it. Check soil moisture before you water, rotate the pot for even growth, and watch leaves for early warning signs.
Set a fertilizer schedule that matches the season, then pause feeding when growth slows. Good pest management matters too, so inspect stems, leaf undersides, and new shoots each week. If you catch trouble early, you’ll save the plant a lot of stress.
Feed by season, pause when growth slows, and inspect weekly for pests to catch trouble early.
Morning light on a bright windowsill
A finger testing cool, damp soil
Clean pruning snips resting nearby
Tiny pests spotted on a leaf vein
Fresh fertilizer mixed at the right strength
Keep the area tidy, wipe dusty leaves, and repot only when roots crowd the container. When you stay consistent, your plant won’t just recover; it’ll keep growing strong and steady.
Frequently Asked Questions
How Do I Tell if My Houseplant Is Still Salvageable?
You can tell your houseplant’s still salvageable if you spot healthy stems, firm roots, or new growth, even when leaves look rough. Check for leaf discoloration causes like overwatering, too much sun, or nutrient issues. Also, inspect the roots for root rot signs such as mushiness or a bad smell.
If most roots are firm and pale, you’ve likely got a chance to save it with prompt care and patience.
Should I Quarantine a Sick Houseplant From My Other Plants?
Yes, you should quarantine it right away. You’ll protect your other plants while you watch for sick plant signs like spots, pests, wilting, or mold.
Quarantine benefits include stopping problems from spreading and making it easier for you to treat the plant closely. Keep it separate for at least two weeks, and use clean tools when you handle it.
That way, you give your plants the best chance to stay healthy.
Can I Revive a Plant After Fertilizer Burn?
Absolutely, you can often revive a plant after fertilizer burn if you act fast. You should flush the soil with plenty of water, then let it drain well. Stop feeding, trim damaged leaves, and repot if the roots look scorched.
Different fertilizer types can cause different damage, so check the label next time. Watch for recovery signs like new growth and firmer leaves. If you’re quick, you’ve still got a fighting chance.
When Is the Best Time to Rescue a Dying Houseplant?
You should rescue a dying houseplant as soon as you notice trouble, because early action gives you the best chance to recover it. Check leaves, soil, and roots right away, then adjust ideal watering and improve light conditions.
Don’t wait for more yellowing, wilting, or rot. The faster you act, the easier it’ll be to stop stress, correct mistakes, and help your plant bounce back stronger.
How Long Does a Revived Houseplant Usually Take to Recover?
Usually, you’ll see a revived houseplant start recovering in 1 to 3 weeks, though full bounce-back can take a few months. About 80% of visible improvement comes from better plant care in the first month.
You should watch for recovery signs like firmer leaves, new growth, and stronger color. Don’t rush it. Roots and stems heal slowly, and your plant needs steady light, water, and patience to fully regain strength.
Conclusion
With a little patience, you can bring your houseplant back from the brink and give it a fresh start. You’ve learned how to spot warning signs, fix watering and soil issues, prune away damage, and create better light and humidity.
Don’t give up if recovery takes time. Plants heal like people do, one small step at a time. Keep caring for it, and you’ll watch new growth become a quiet sign of hope for reviving a dying houseplant.